
HOW TO FILLET A STANDARD-SHAPED FISH
Filleting an upright swimming normal fish is a challenging task that requires some practice. Each species is different, so learning a single skill will not always make you successful. Fish can have widely varying bone structures, which means you must learn to take cues from the fish’s anatomy. The technique outlined here, with a few slight variations for species, will give you the basics of producing a boneless, skinless fish fillet. It will work well on bass, snapper, rockfish, salmon, cod, tilapia, grouper, and other similar types of fish.
Here are a few things that will help you produce an end product that you are happy with. I list them in order of importance.

A sharp, flexible fillet knife – There is nothing that will hurt the quality of your fish fillet more than a dull knife. It doesn’t have to be an expensive knife.
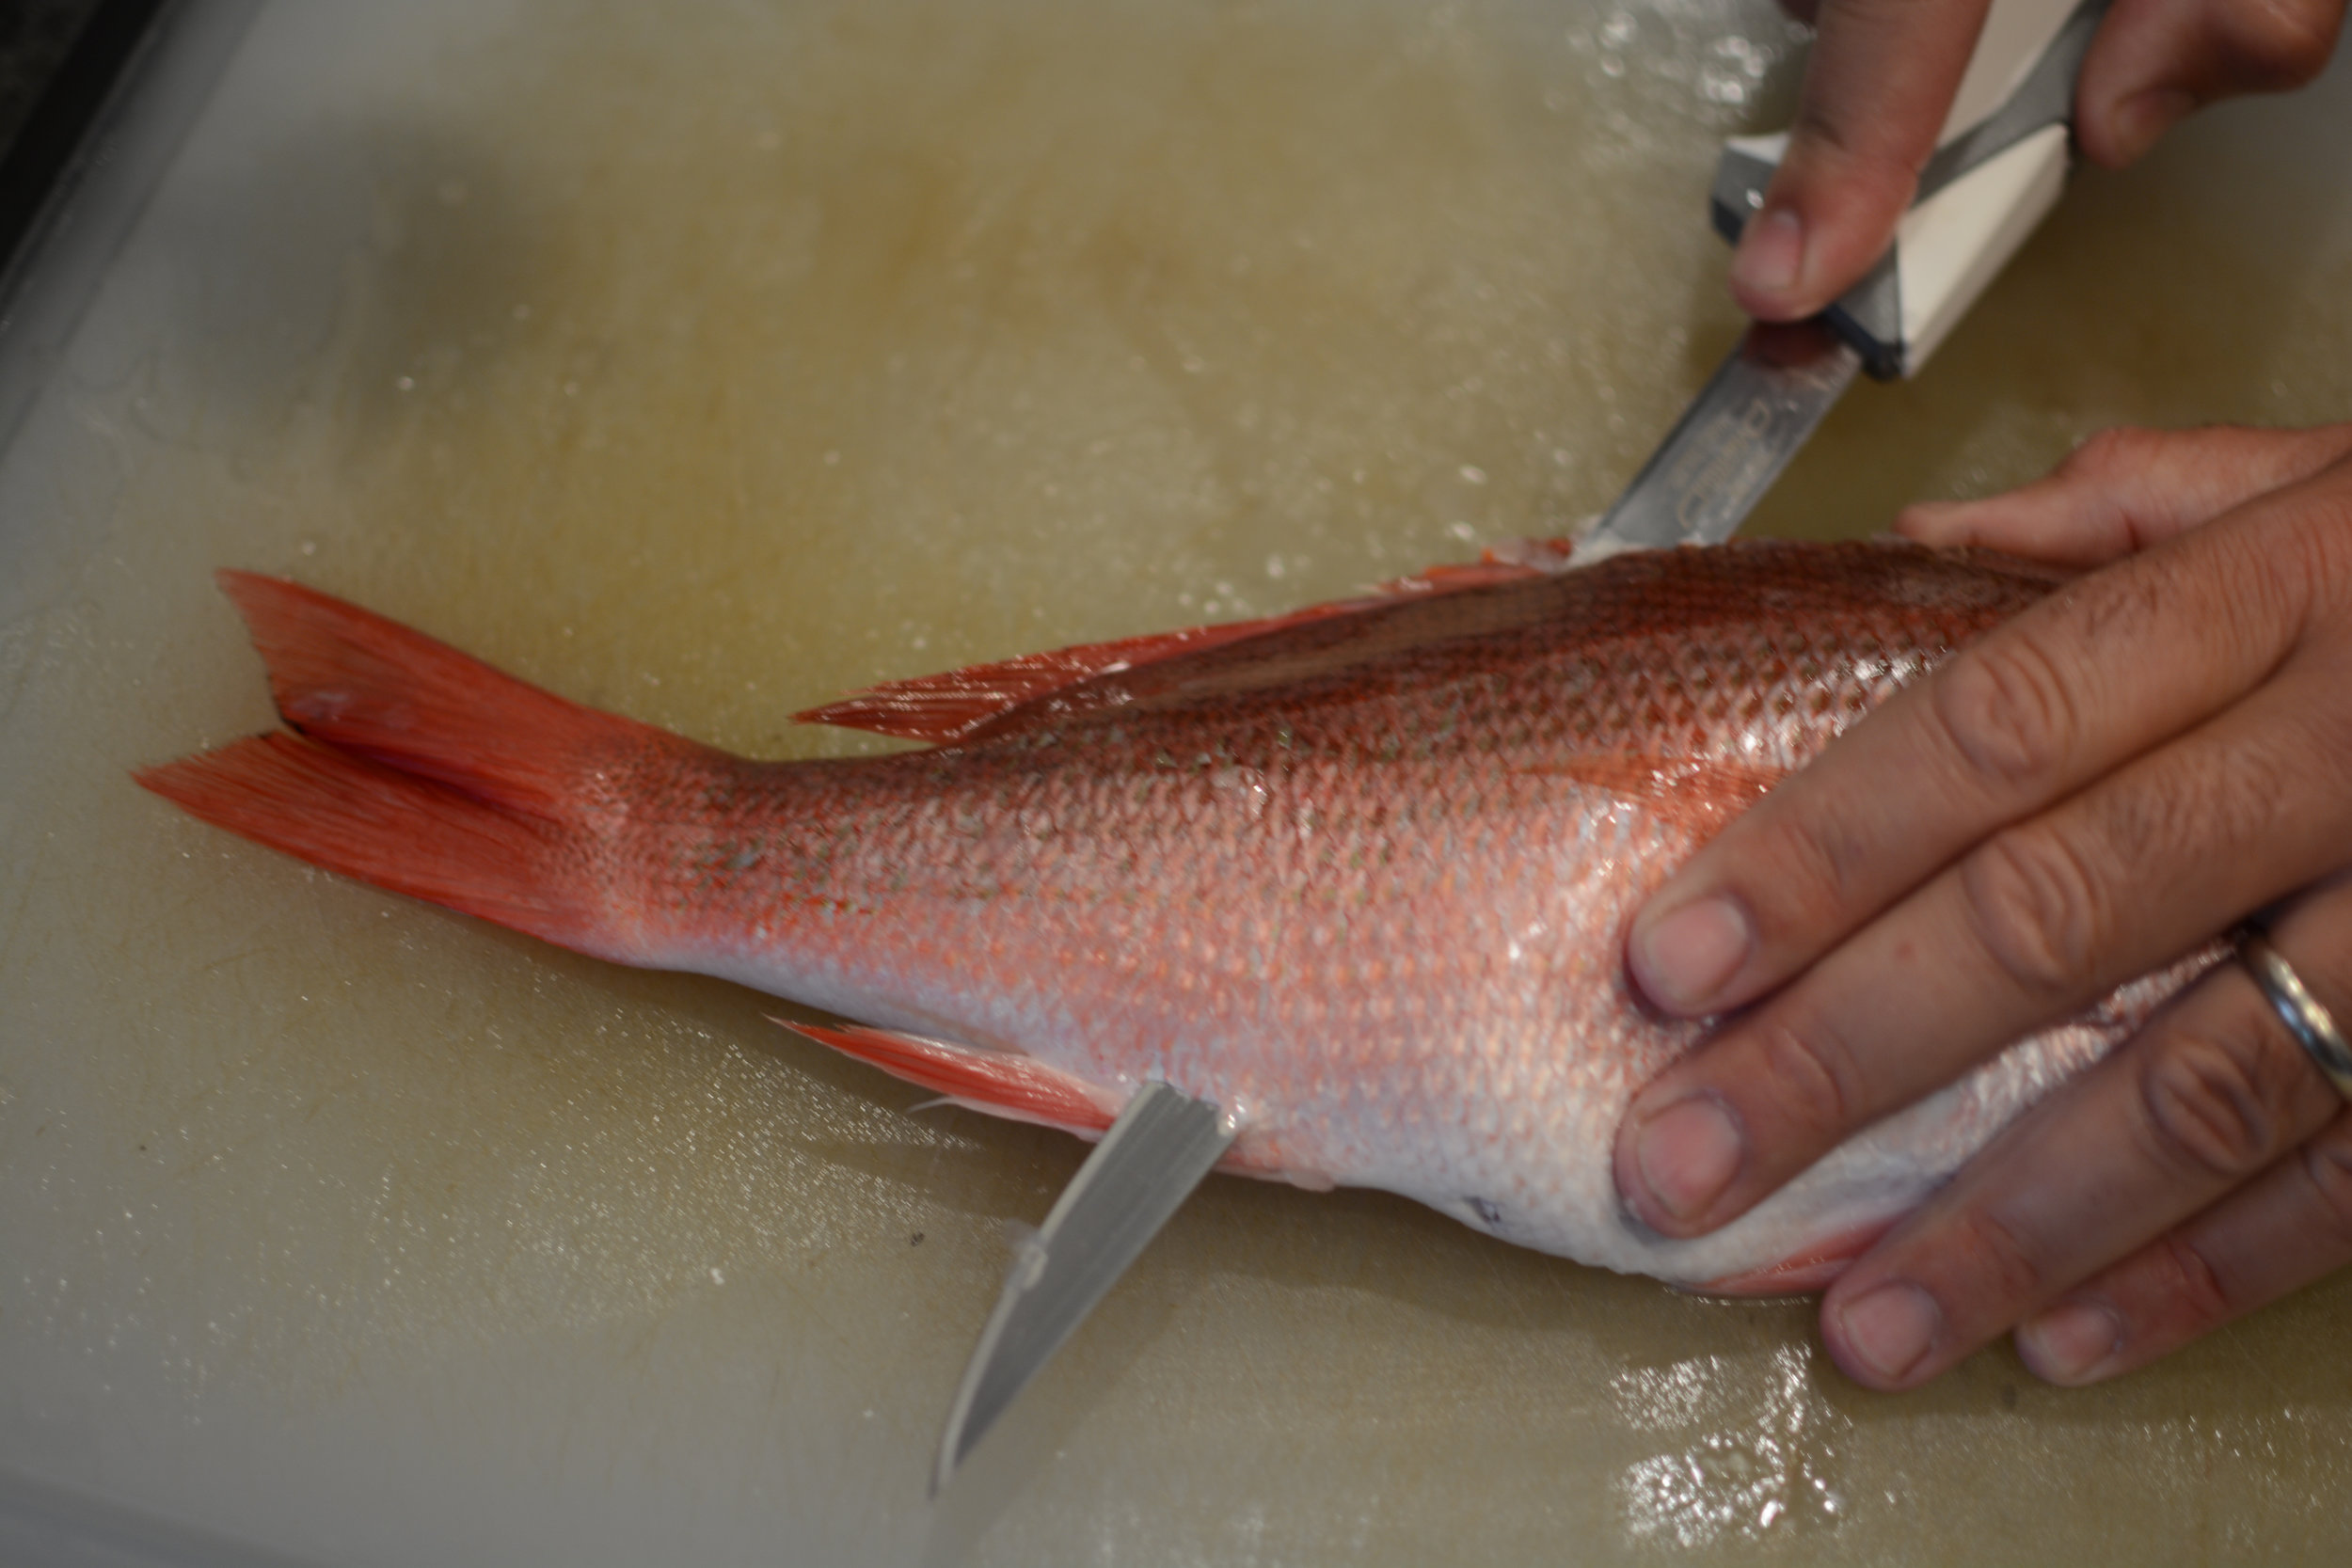
Make sure that you also have a honing steel. Steel your knife at least 3 strokes on each side of the blade every time you take it out of the drawer. See my tutorial on steeling a knife HERE.A good pair of pliers – Inevitably you will have a bone or portion of a bone left in your fillet and you’ll want to get it out. You can really mangle a piece of fish trying to cut around or pinch out a bone. Having the right pliers will help you get this done effectively without ruining a fillet.
A reasonable expectation – Know that with filleting fish, like almost everything else, practice makes perfect. You will probably not produce a perfect piece of fish on your first try. Recognize that a raggedy looking fillet will still be edible and just do the best you can. Over time you will improve your skill and the yield that you get from the fish.
Plenty of time – Make sure that you don’t try to rush through this. Sometimes I start heating my oil before I start cleaning my fish and I almost always regret it. Hurrying will cause you to leave meat behind. Food waste really bothers me. I know how frustrating it can be to leave fish on the bone and generally, tiny bits of fish are not easy to use. So take your time and be careful to get as much as you can.
Once you have the above four items and a fish, you are ready to get to work. Begin by rinsing your fish thoroughly and starting with a clean cutting surface. Once you start, you’ll have contaminated hands, so get everything you need right at the beginning. You’ll need a place to put your clean meat and a place to put the trash.
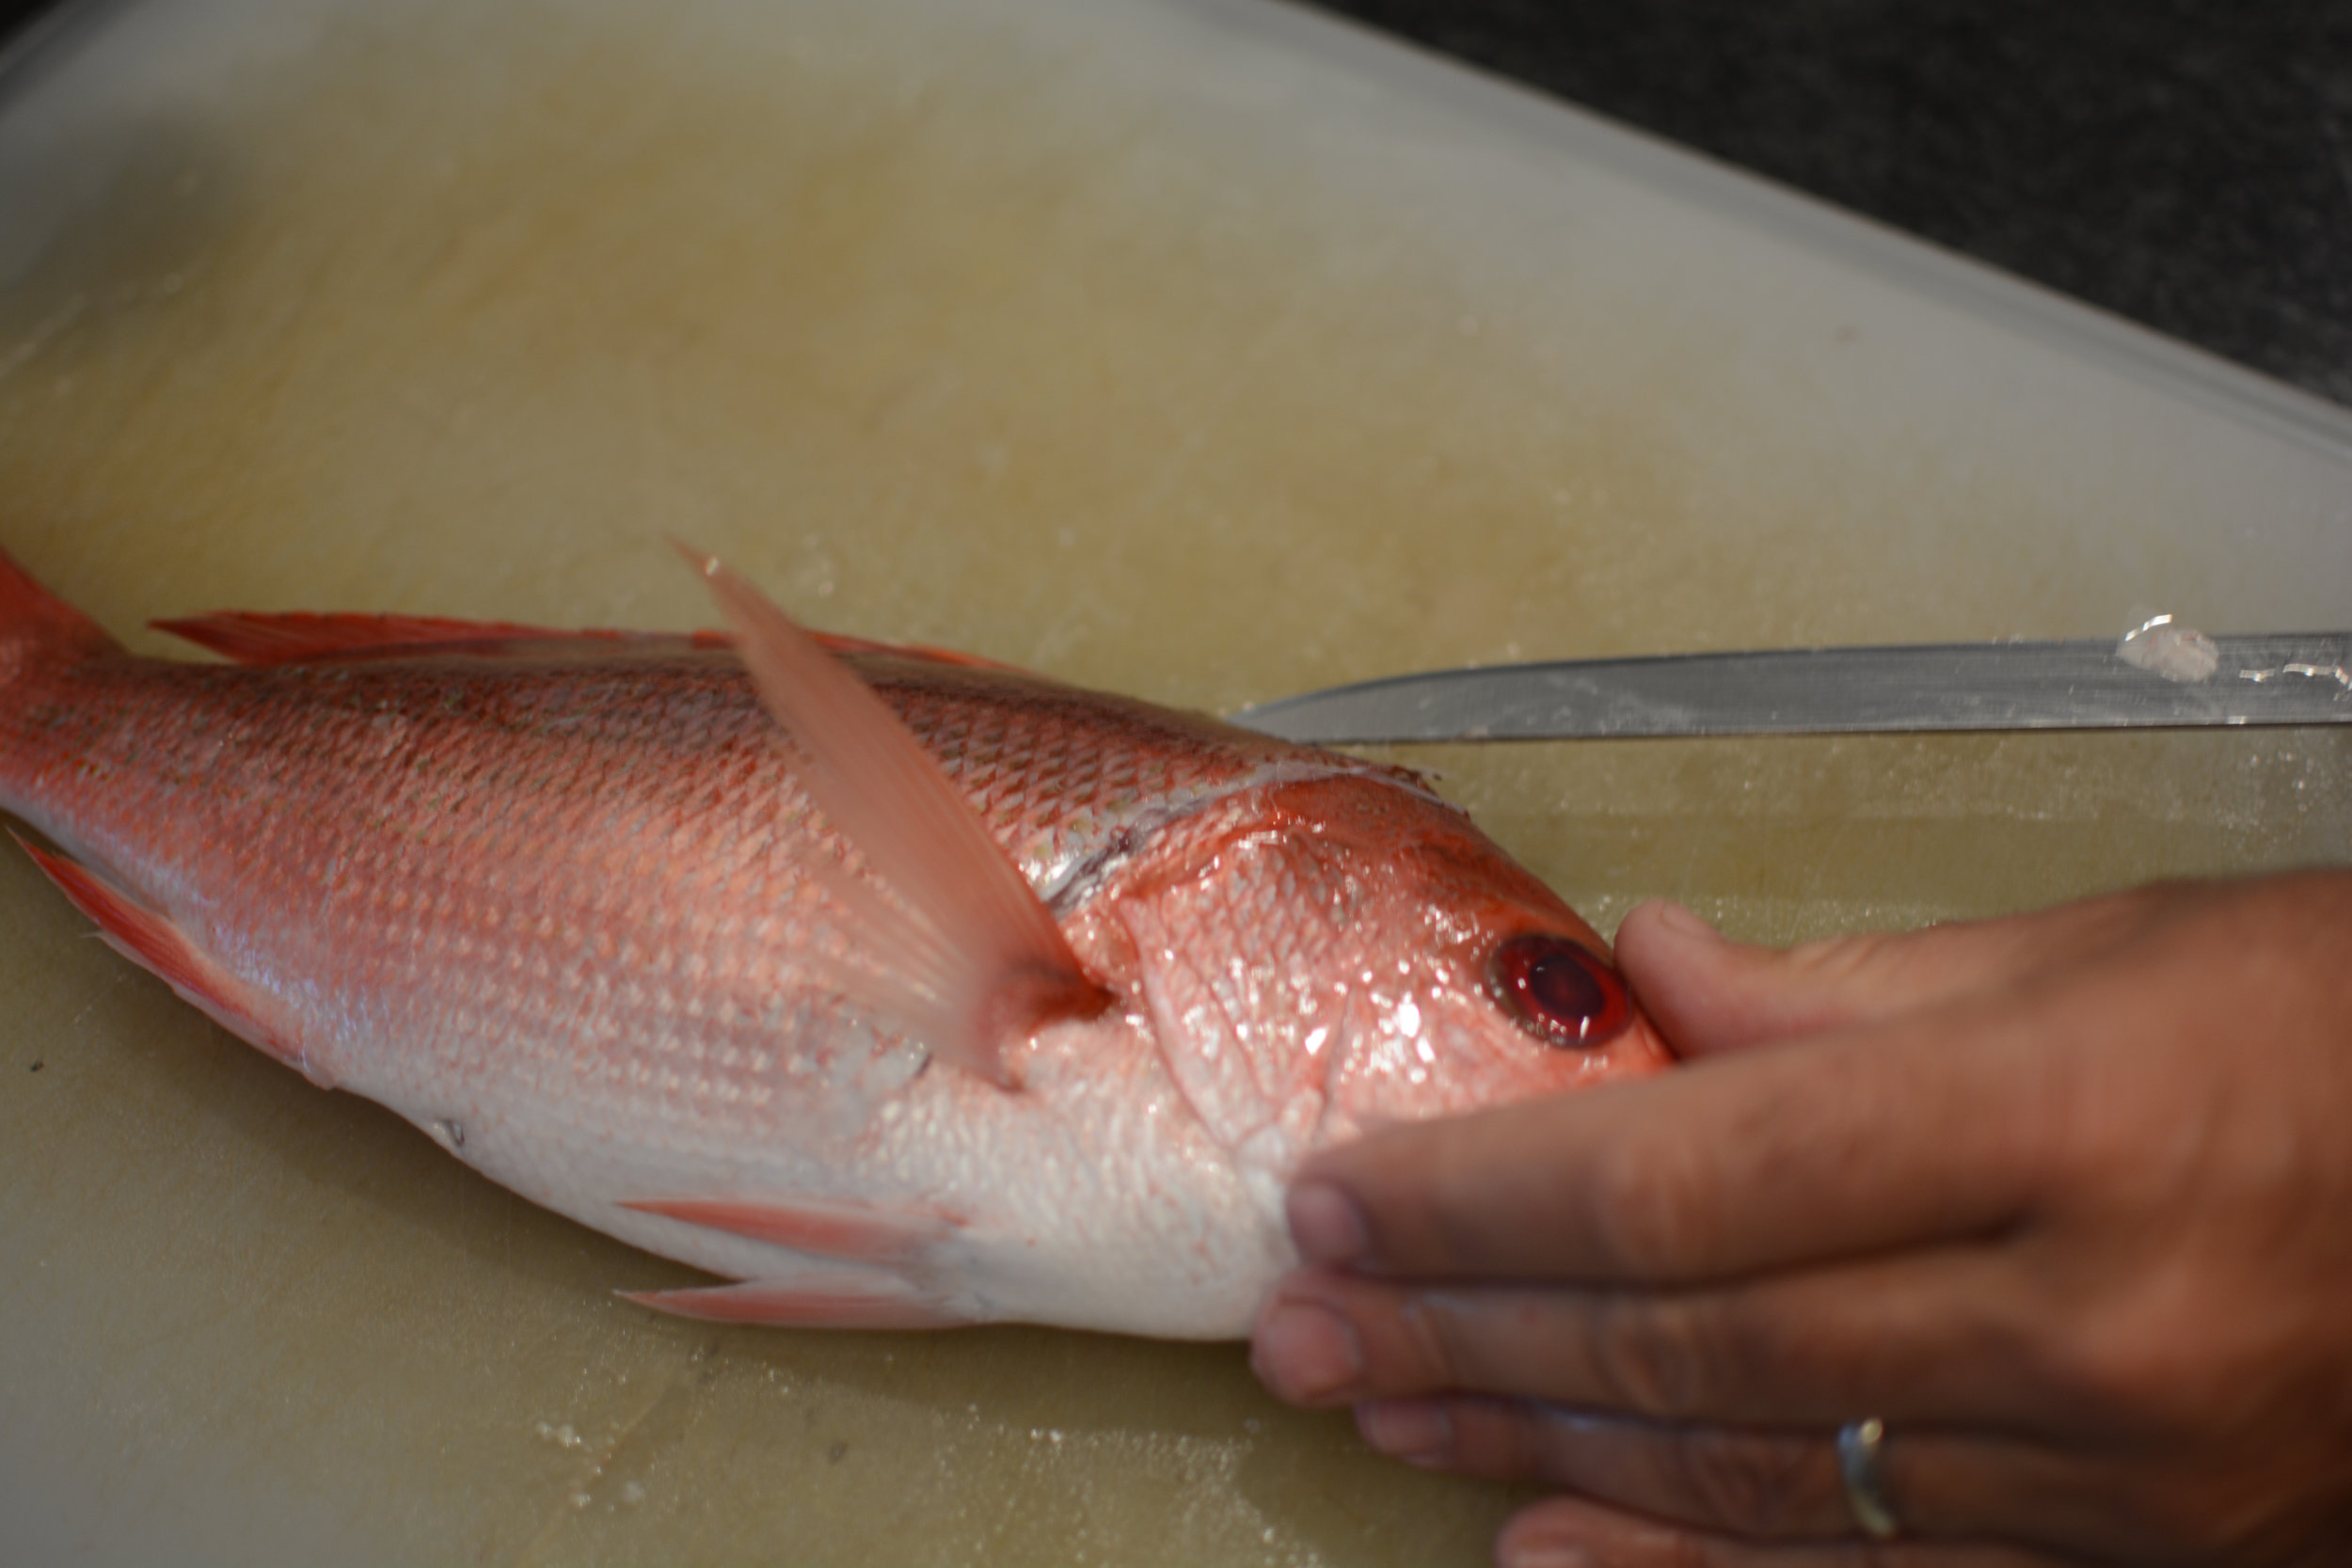
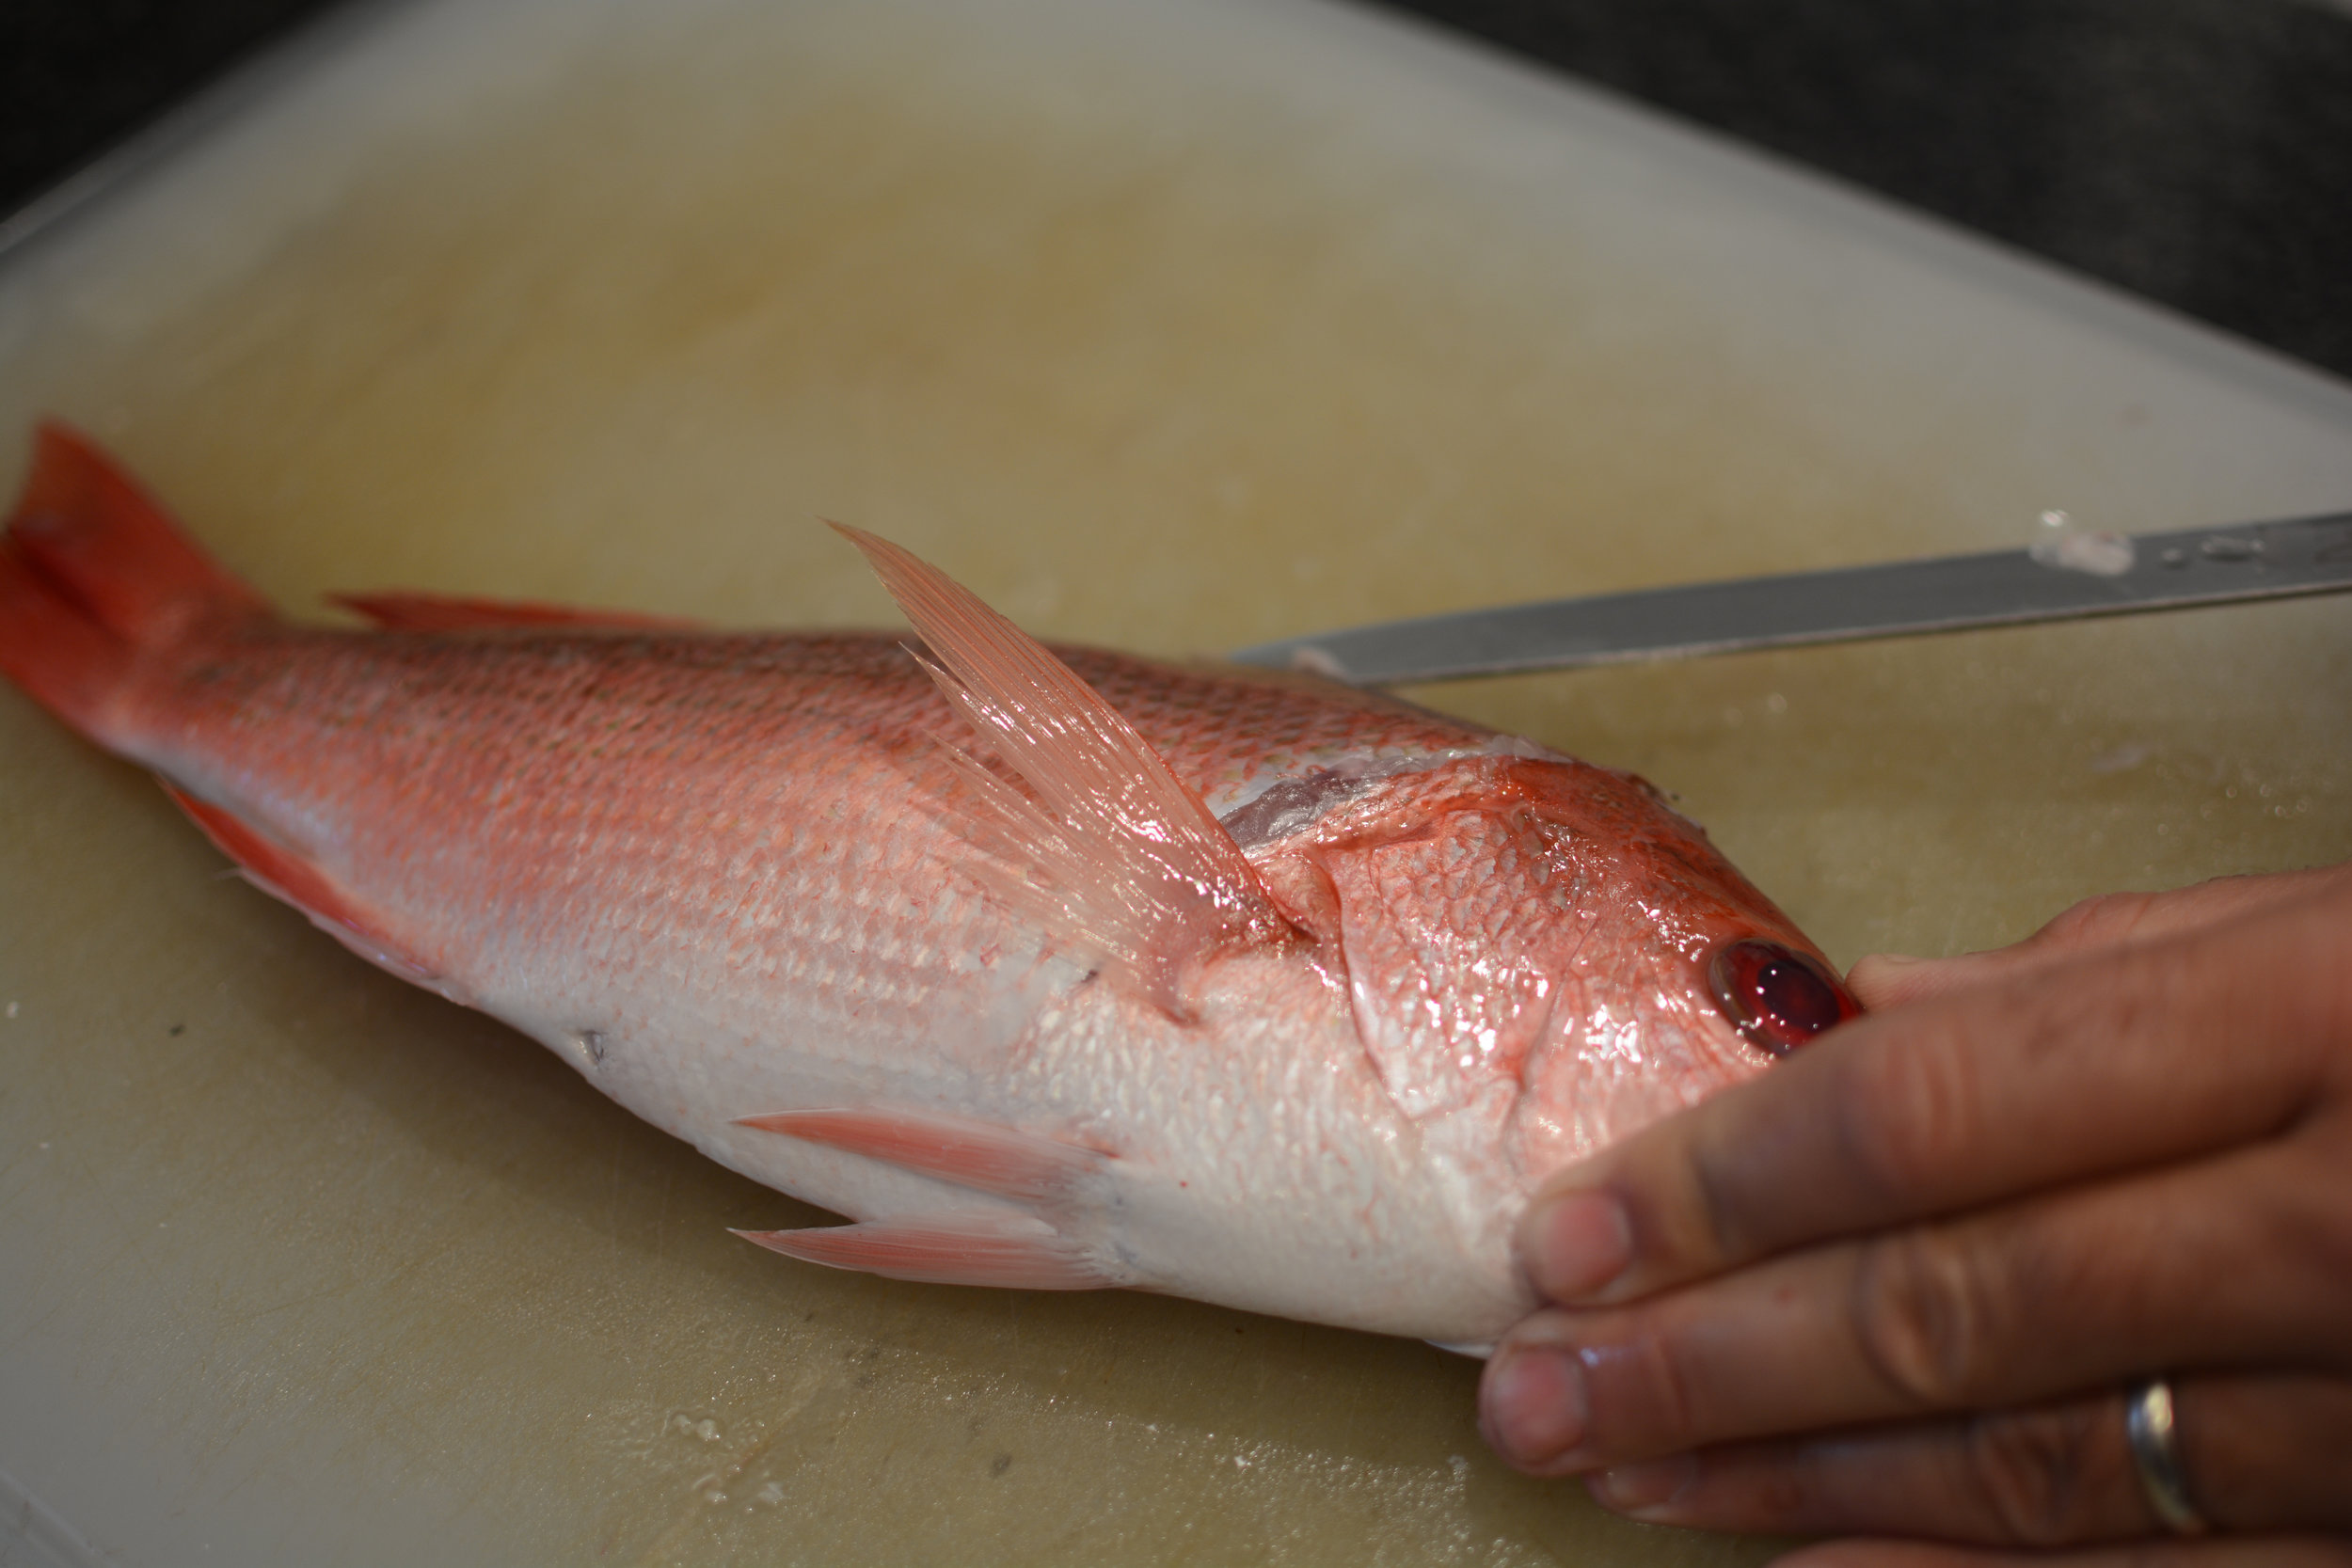
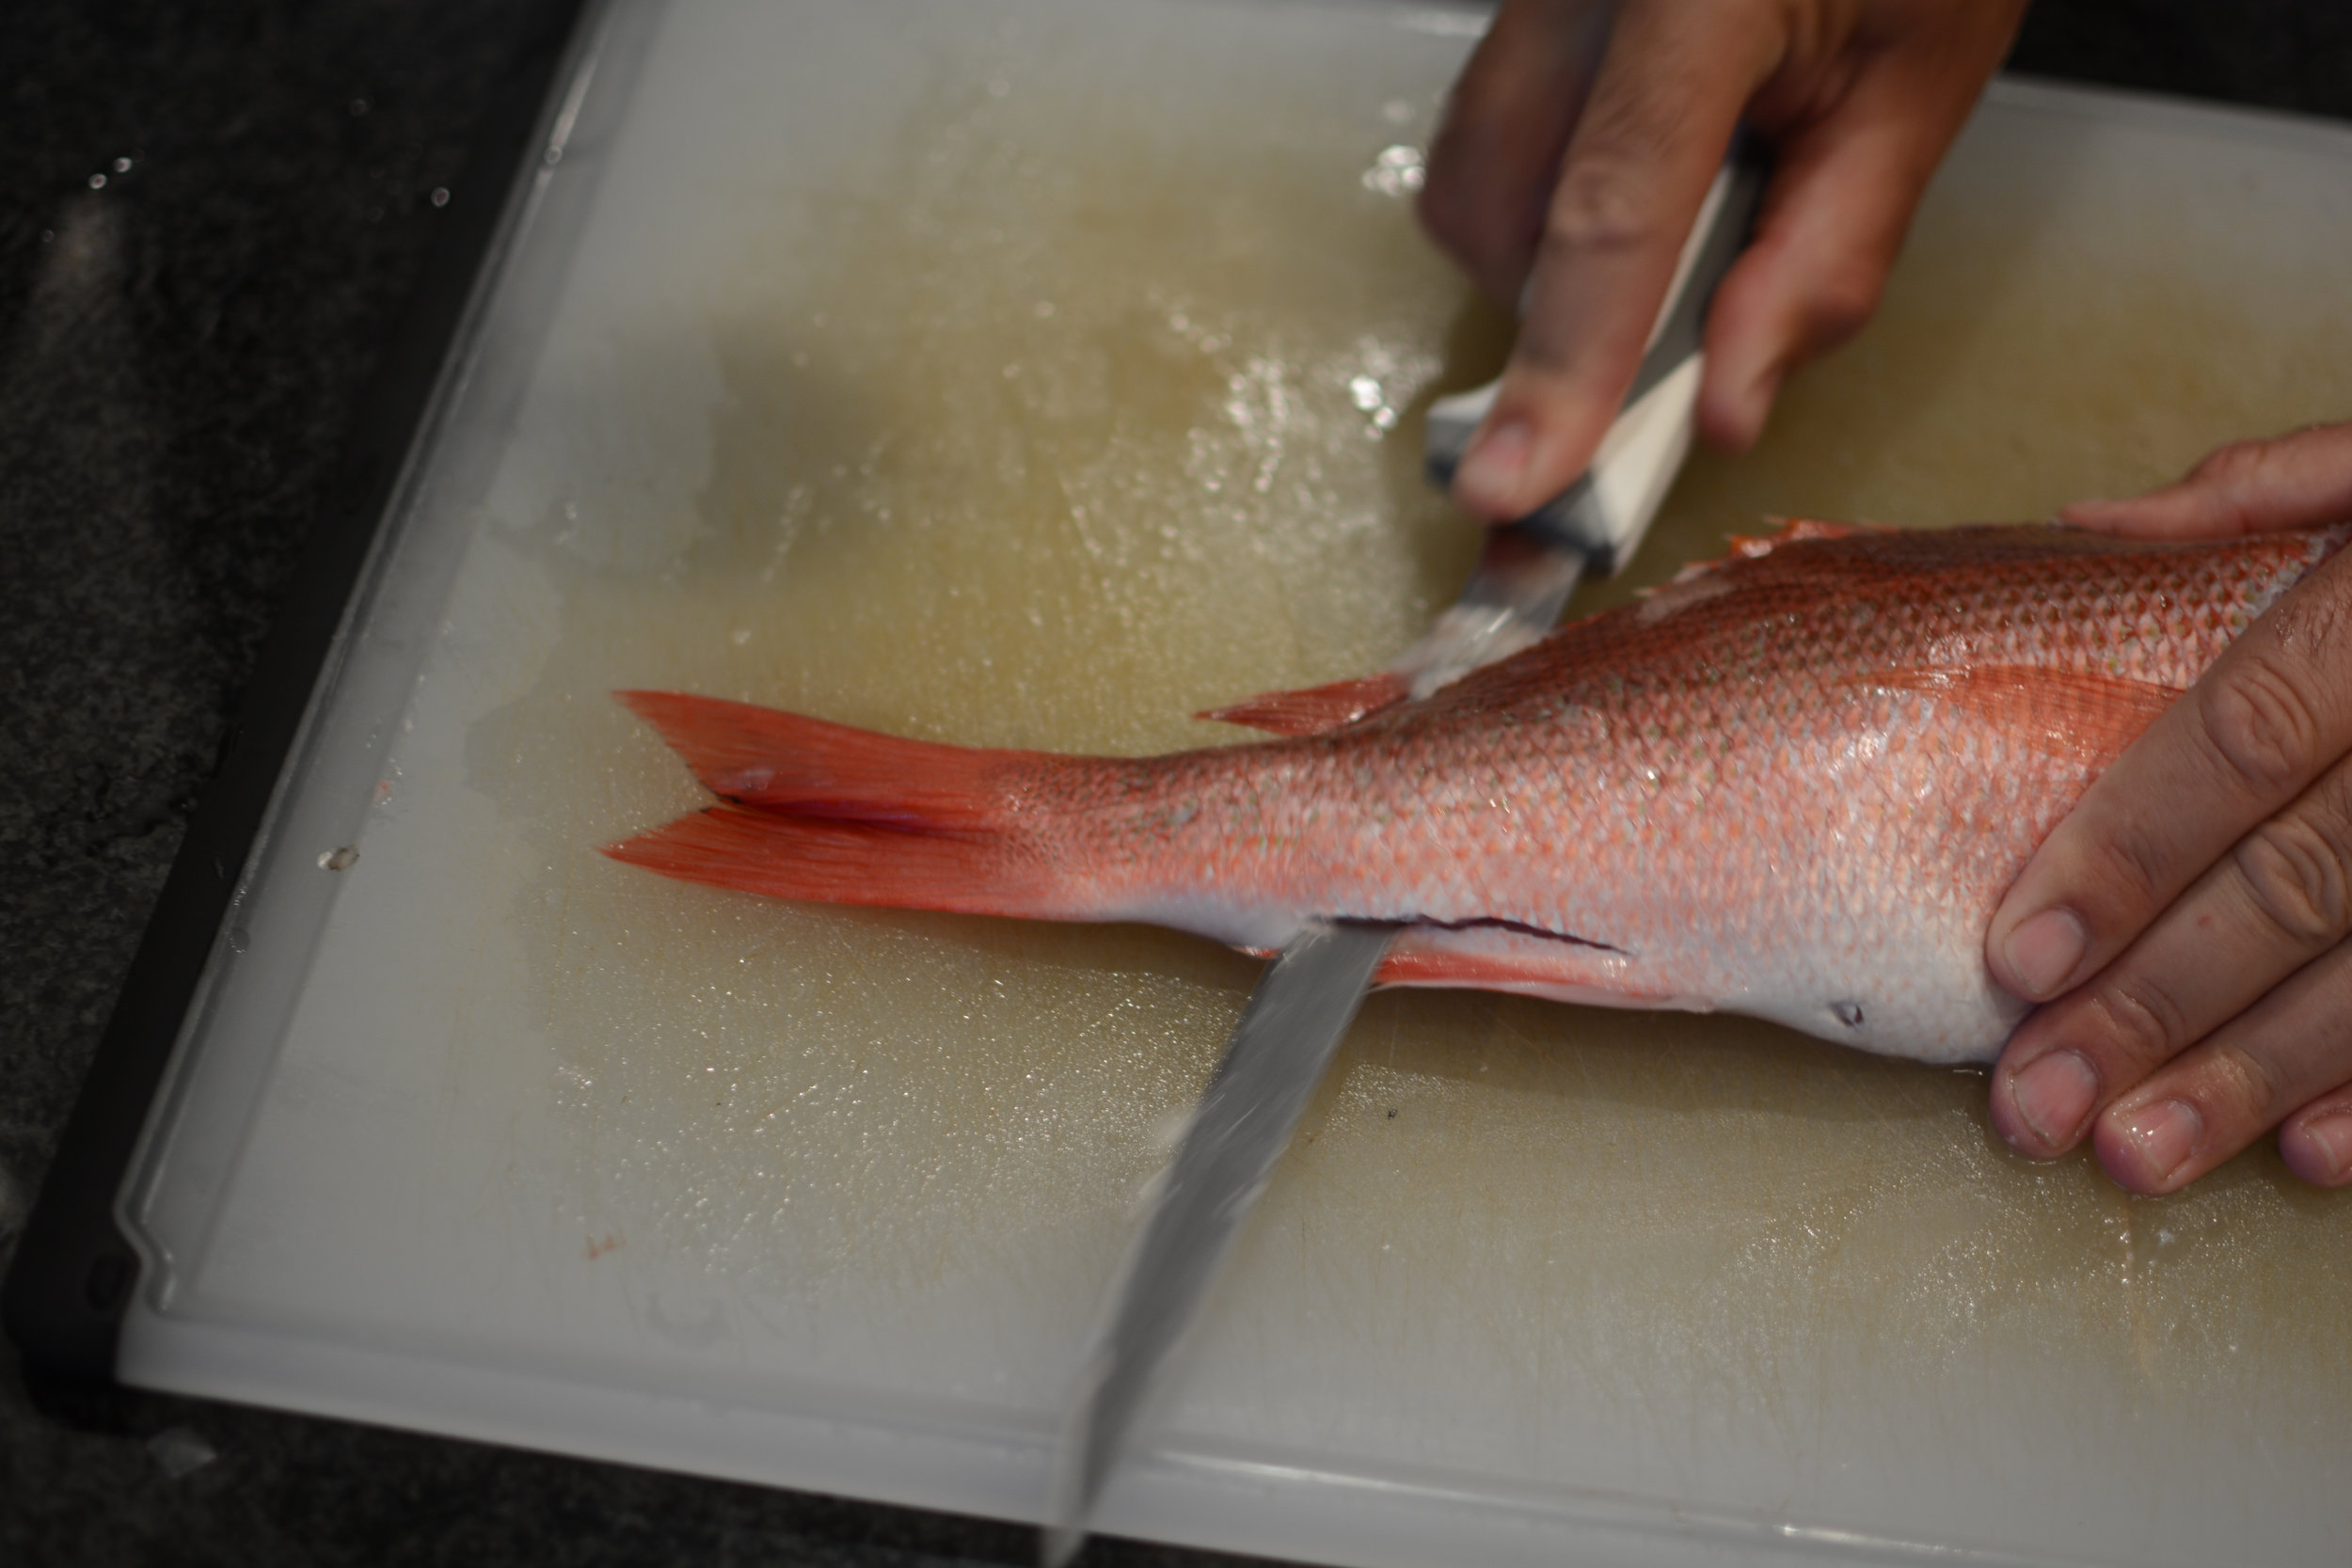
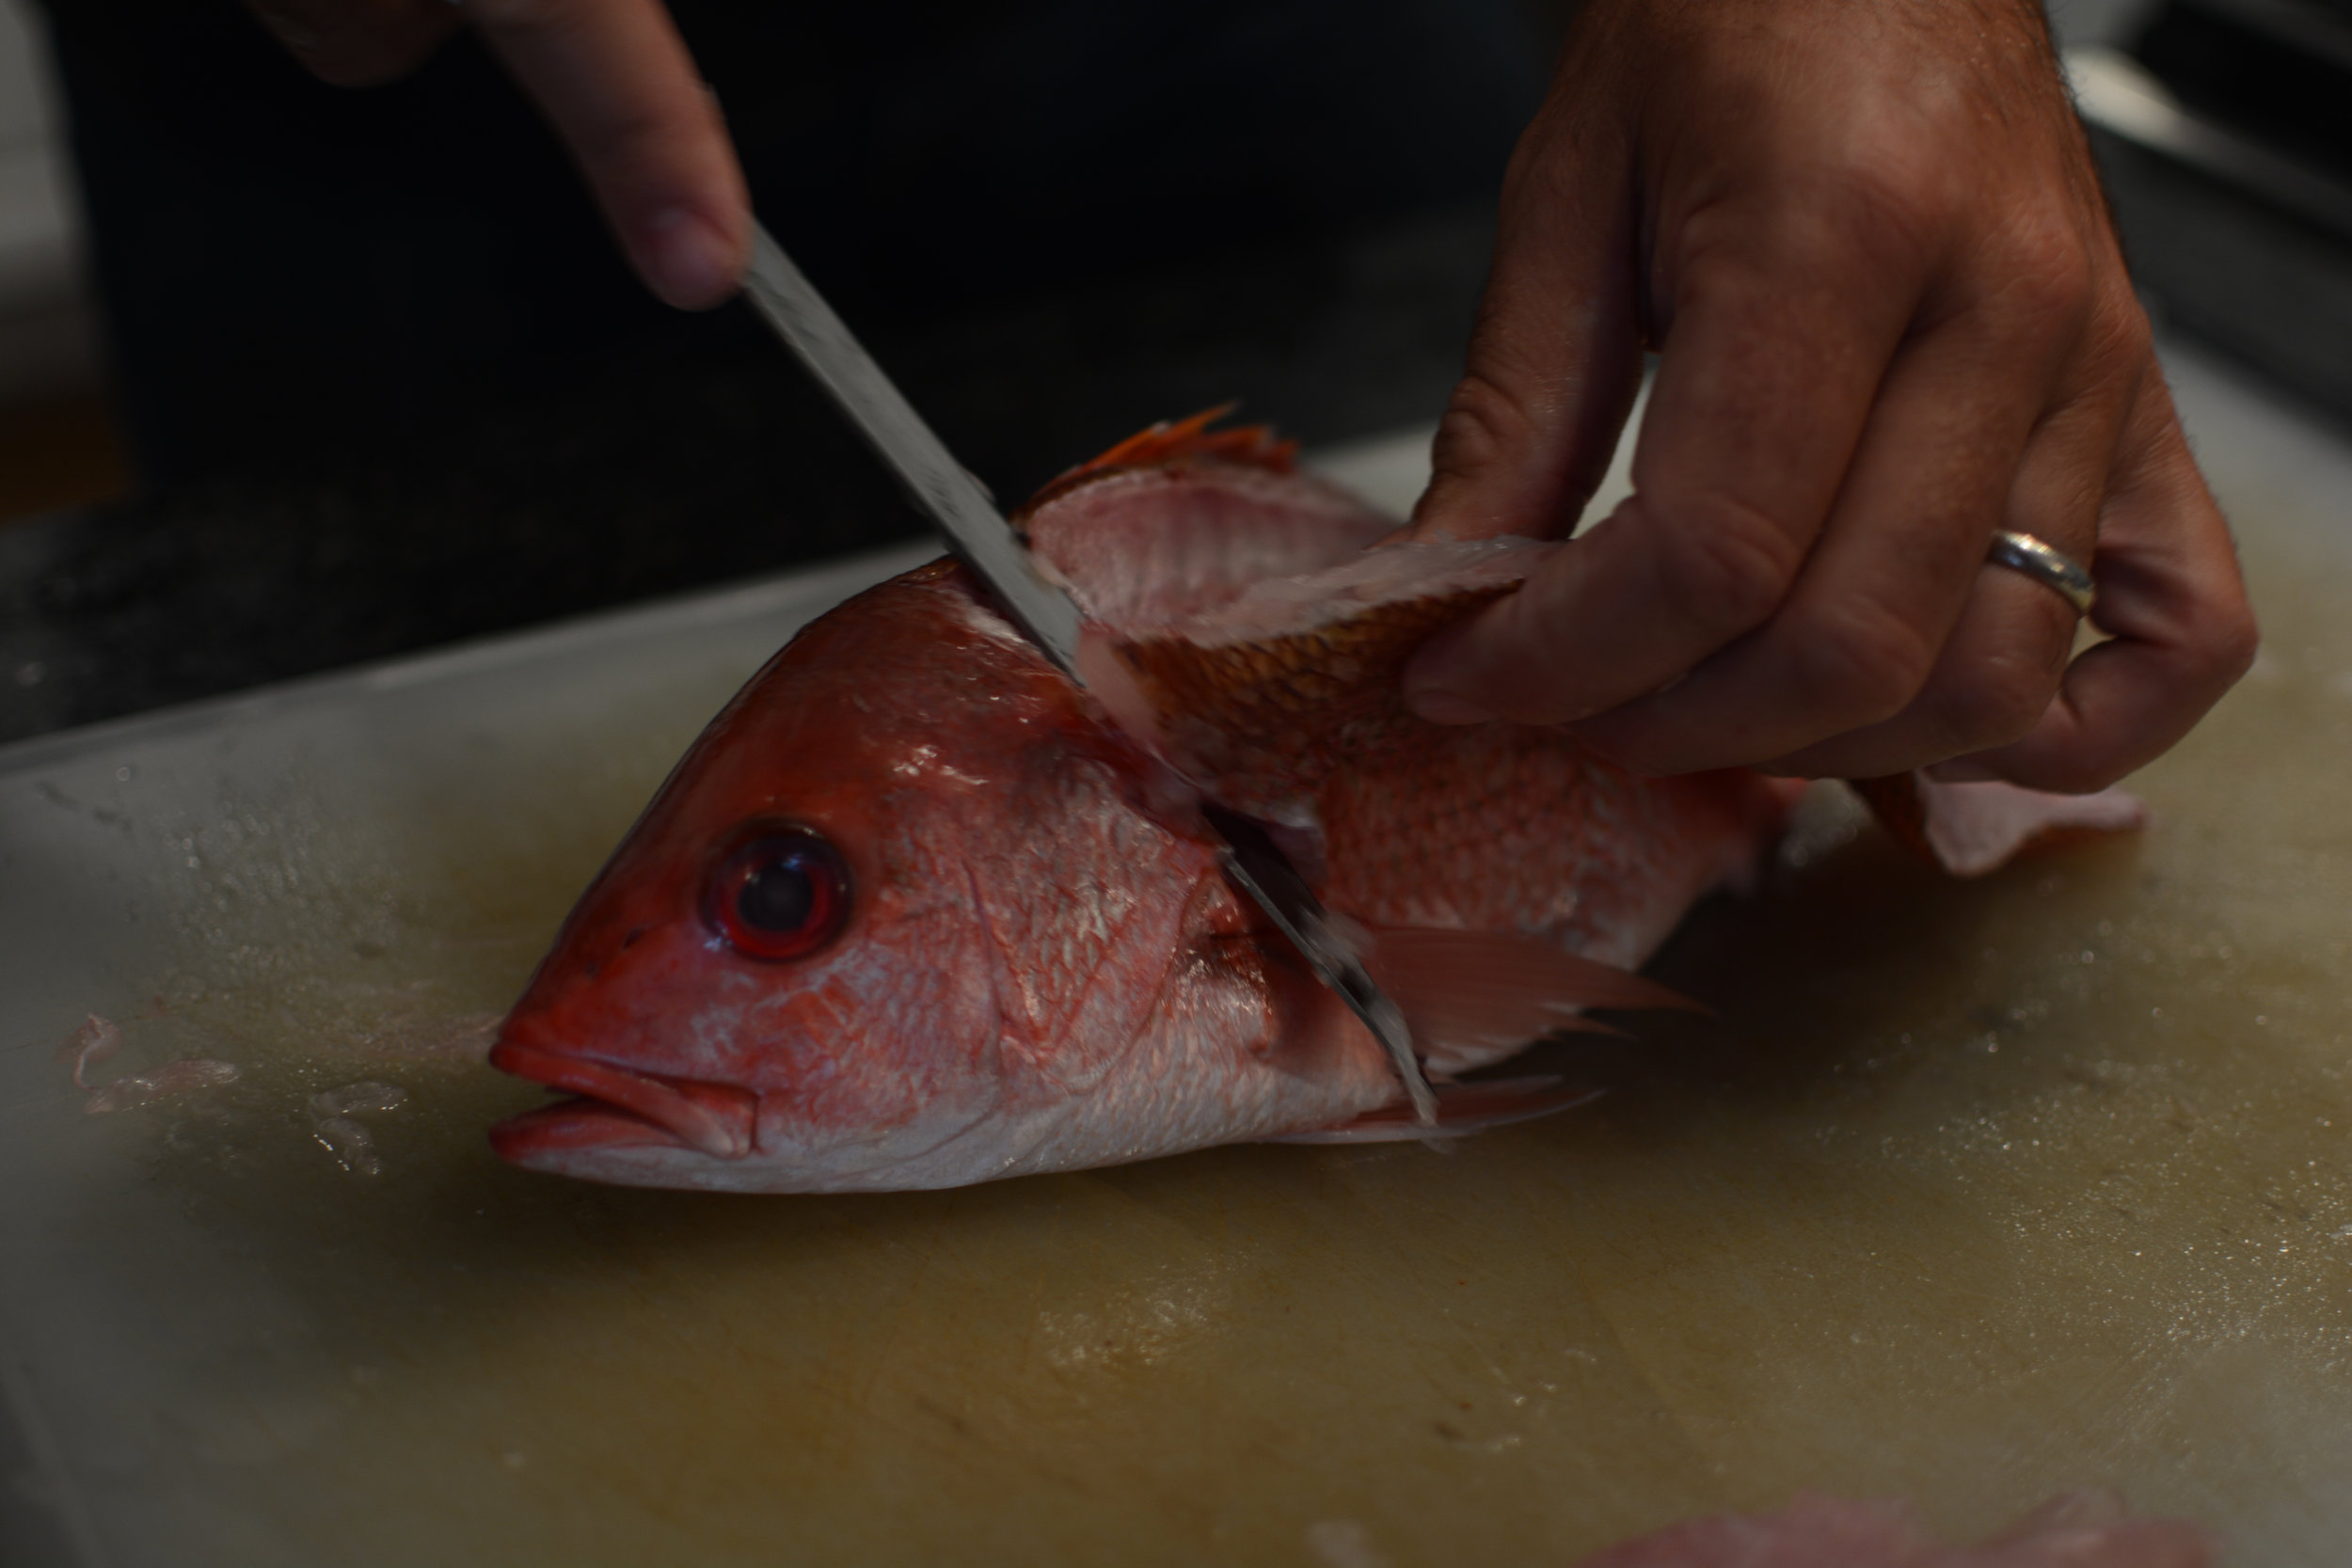
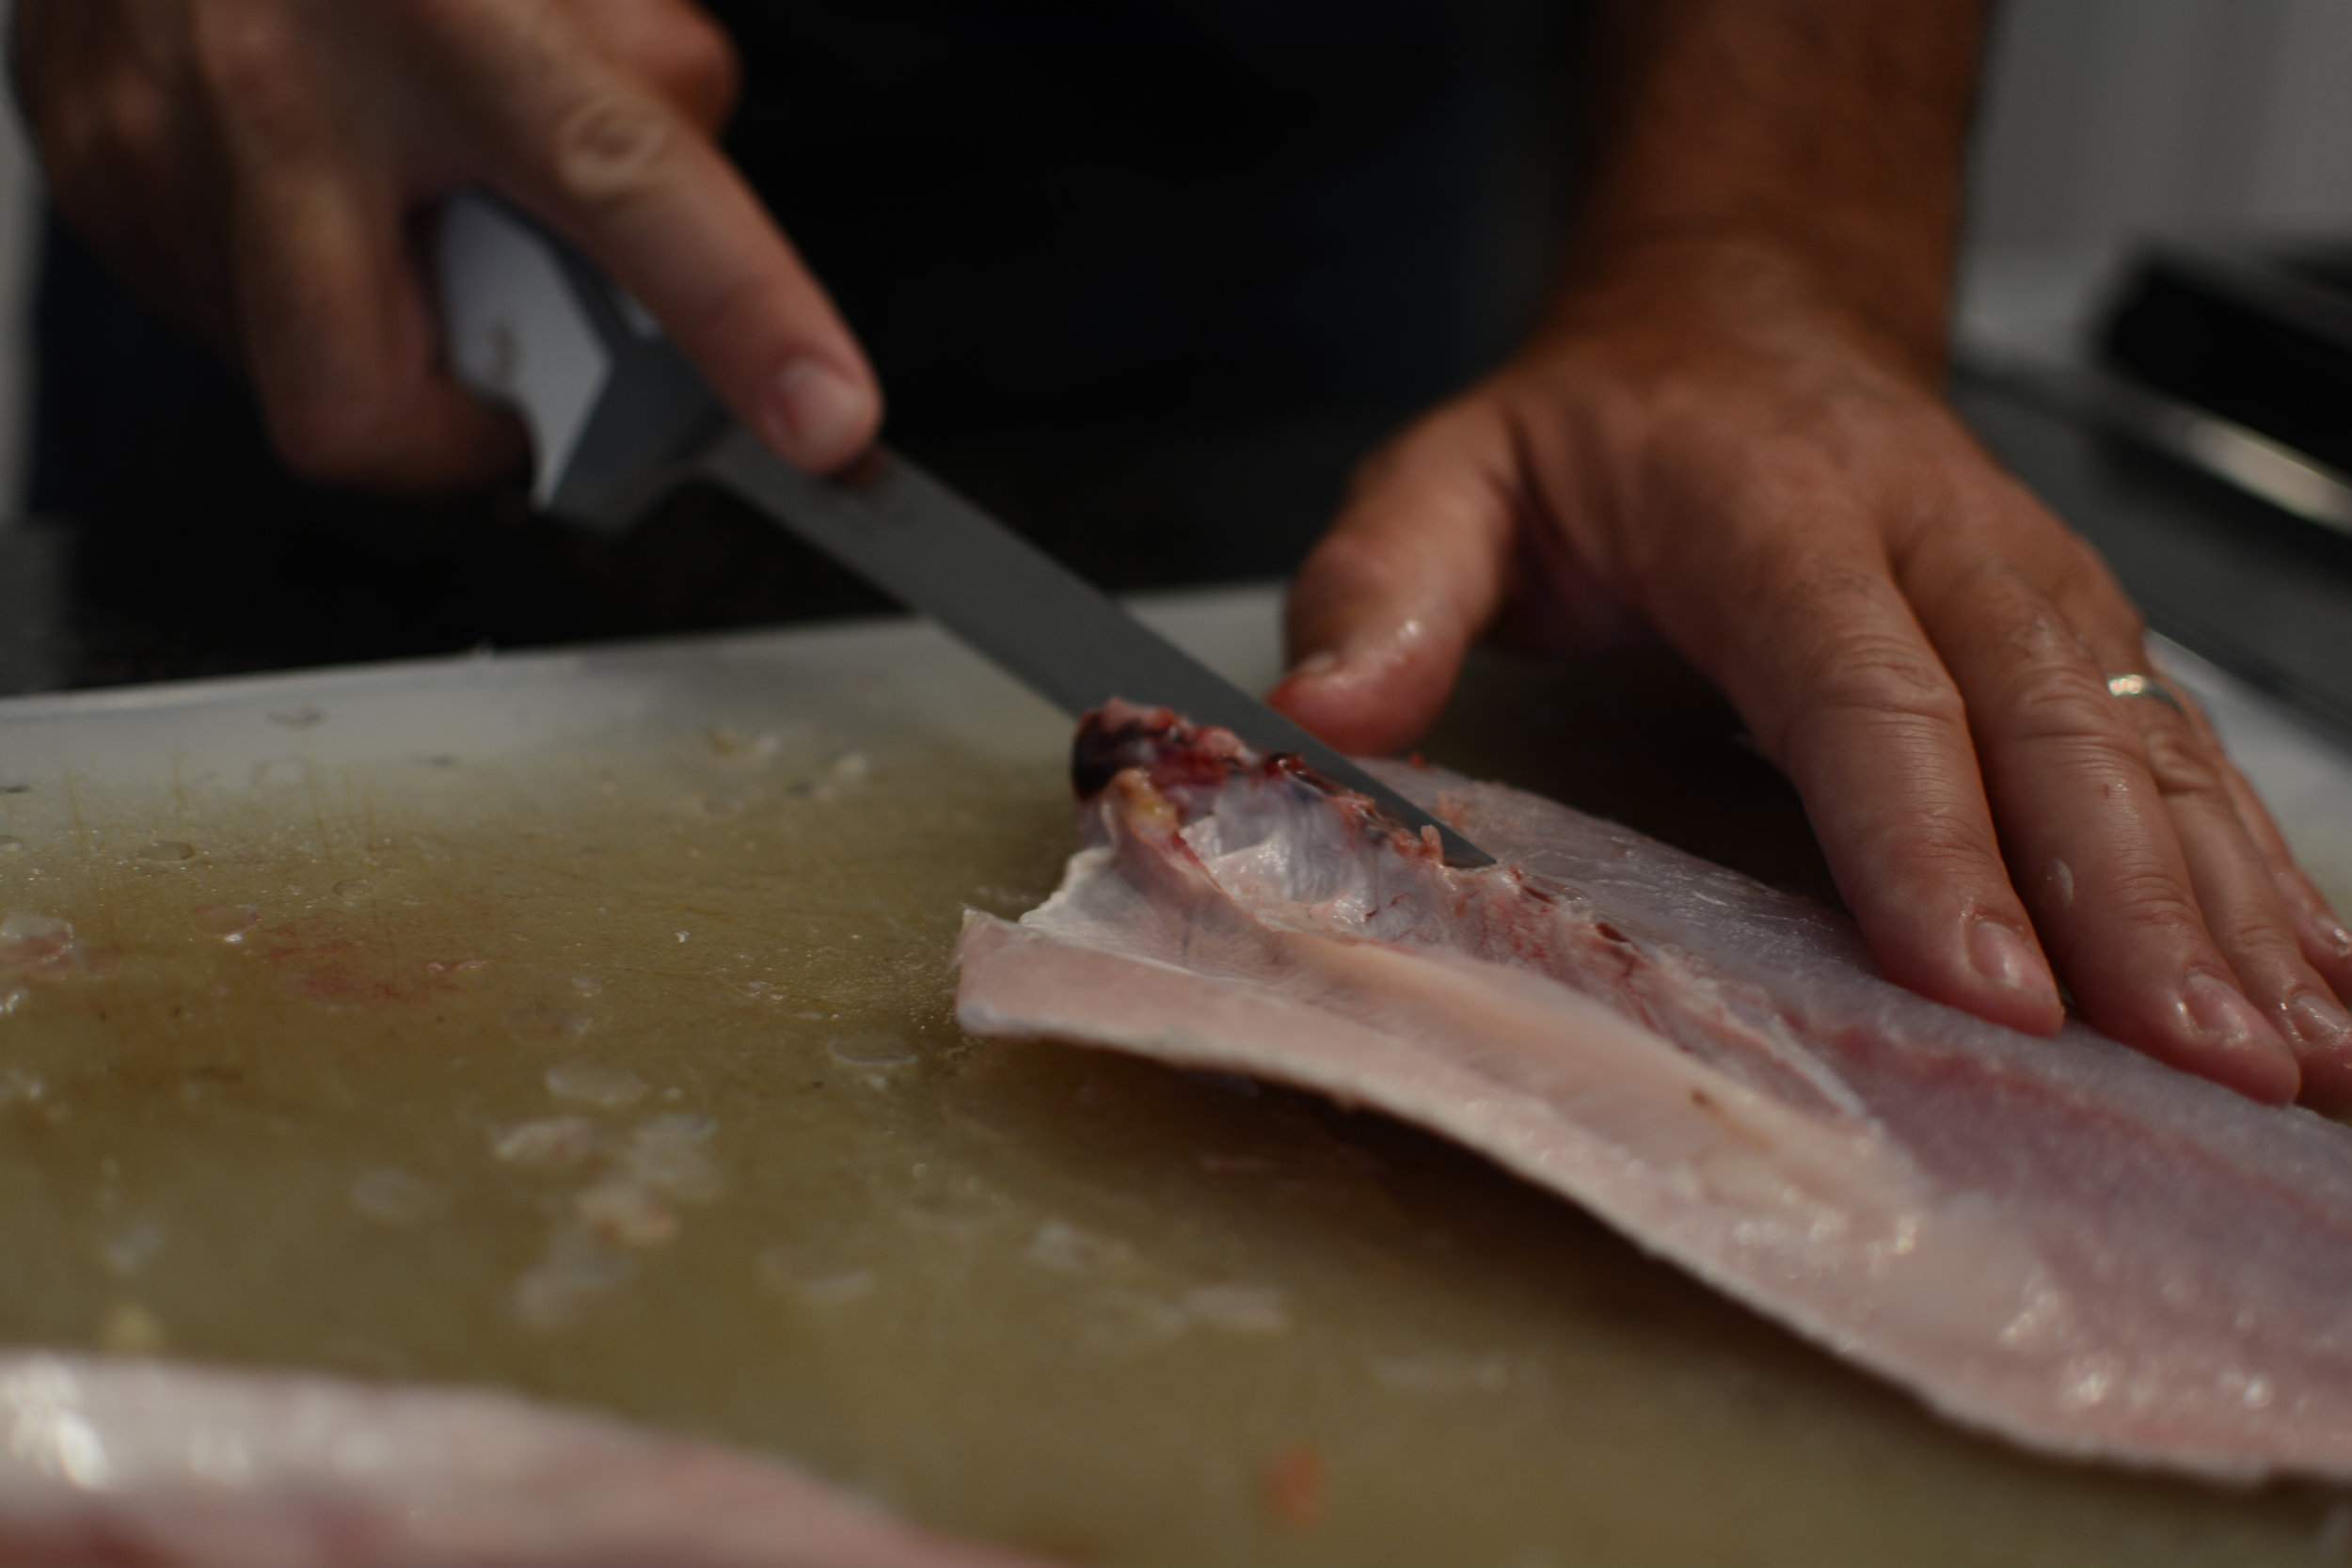
Start by grasping the fish by the head and setting your knife at an angle from top to bottom so that it gets the meat as high on the head as possible and goes just behind the pectoral fin. Make your cut all the way to the bone and avoid cutting through any bones. The goal is not to pierce the body cavity.

Insert your knife at the top of the fish, where your first cut intersects the spine and the base of the head. If the fish is huge or very thick and rounded, or if it is a fish with a wide rib cage, I insert the knife just beneath the skin and make a very shallow cut. This allows me to come back and follow the contours of the bones to get the most meat. For huge fish, once you cut through the skin, come back and gently lift and then cut deeper, following the natural contours.

For mostly flat fish, you can insert the knife much further and do most of the cutting on the first pass.
When your cut reaches the midpoint, angle the knife and push it through so it passes just behind the body cavity. Do this only for mostly flat types of fish. Fish with a wide spine and thick, rounded bodies should be worked top to bottom to avoid leaving meat on the tail.
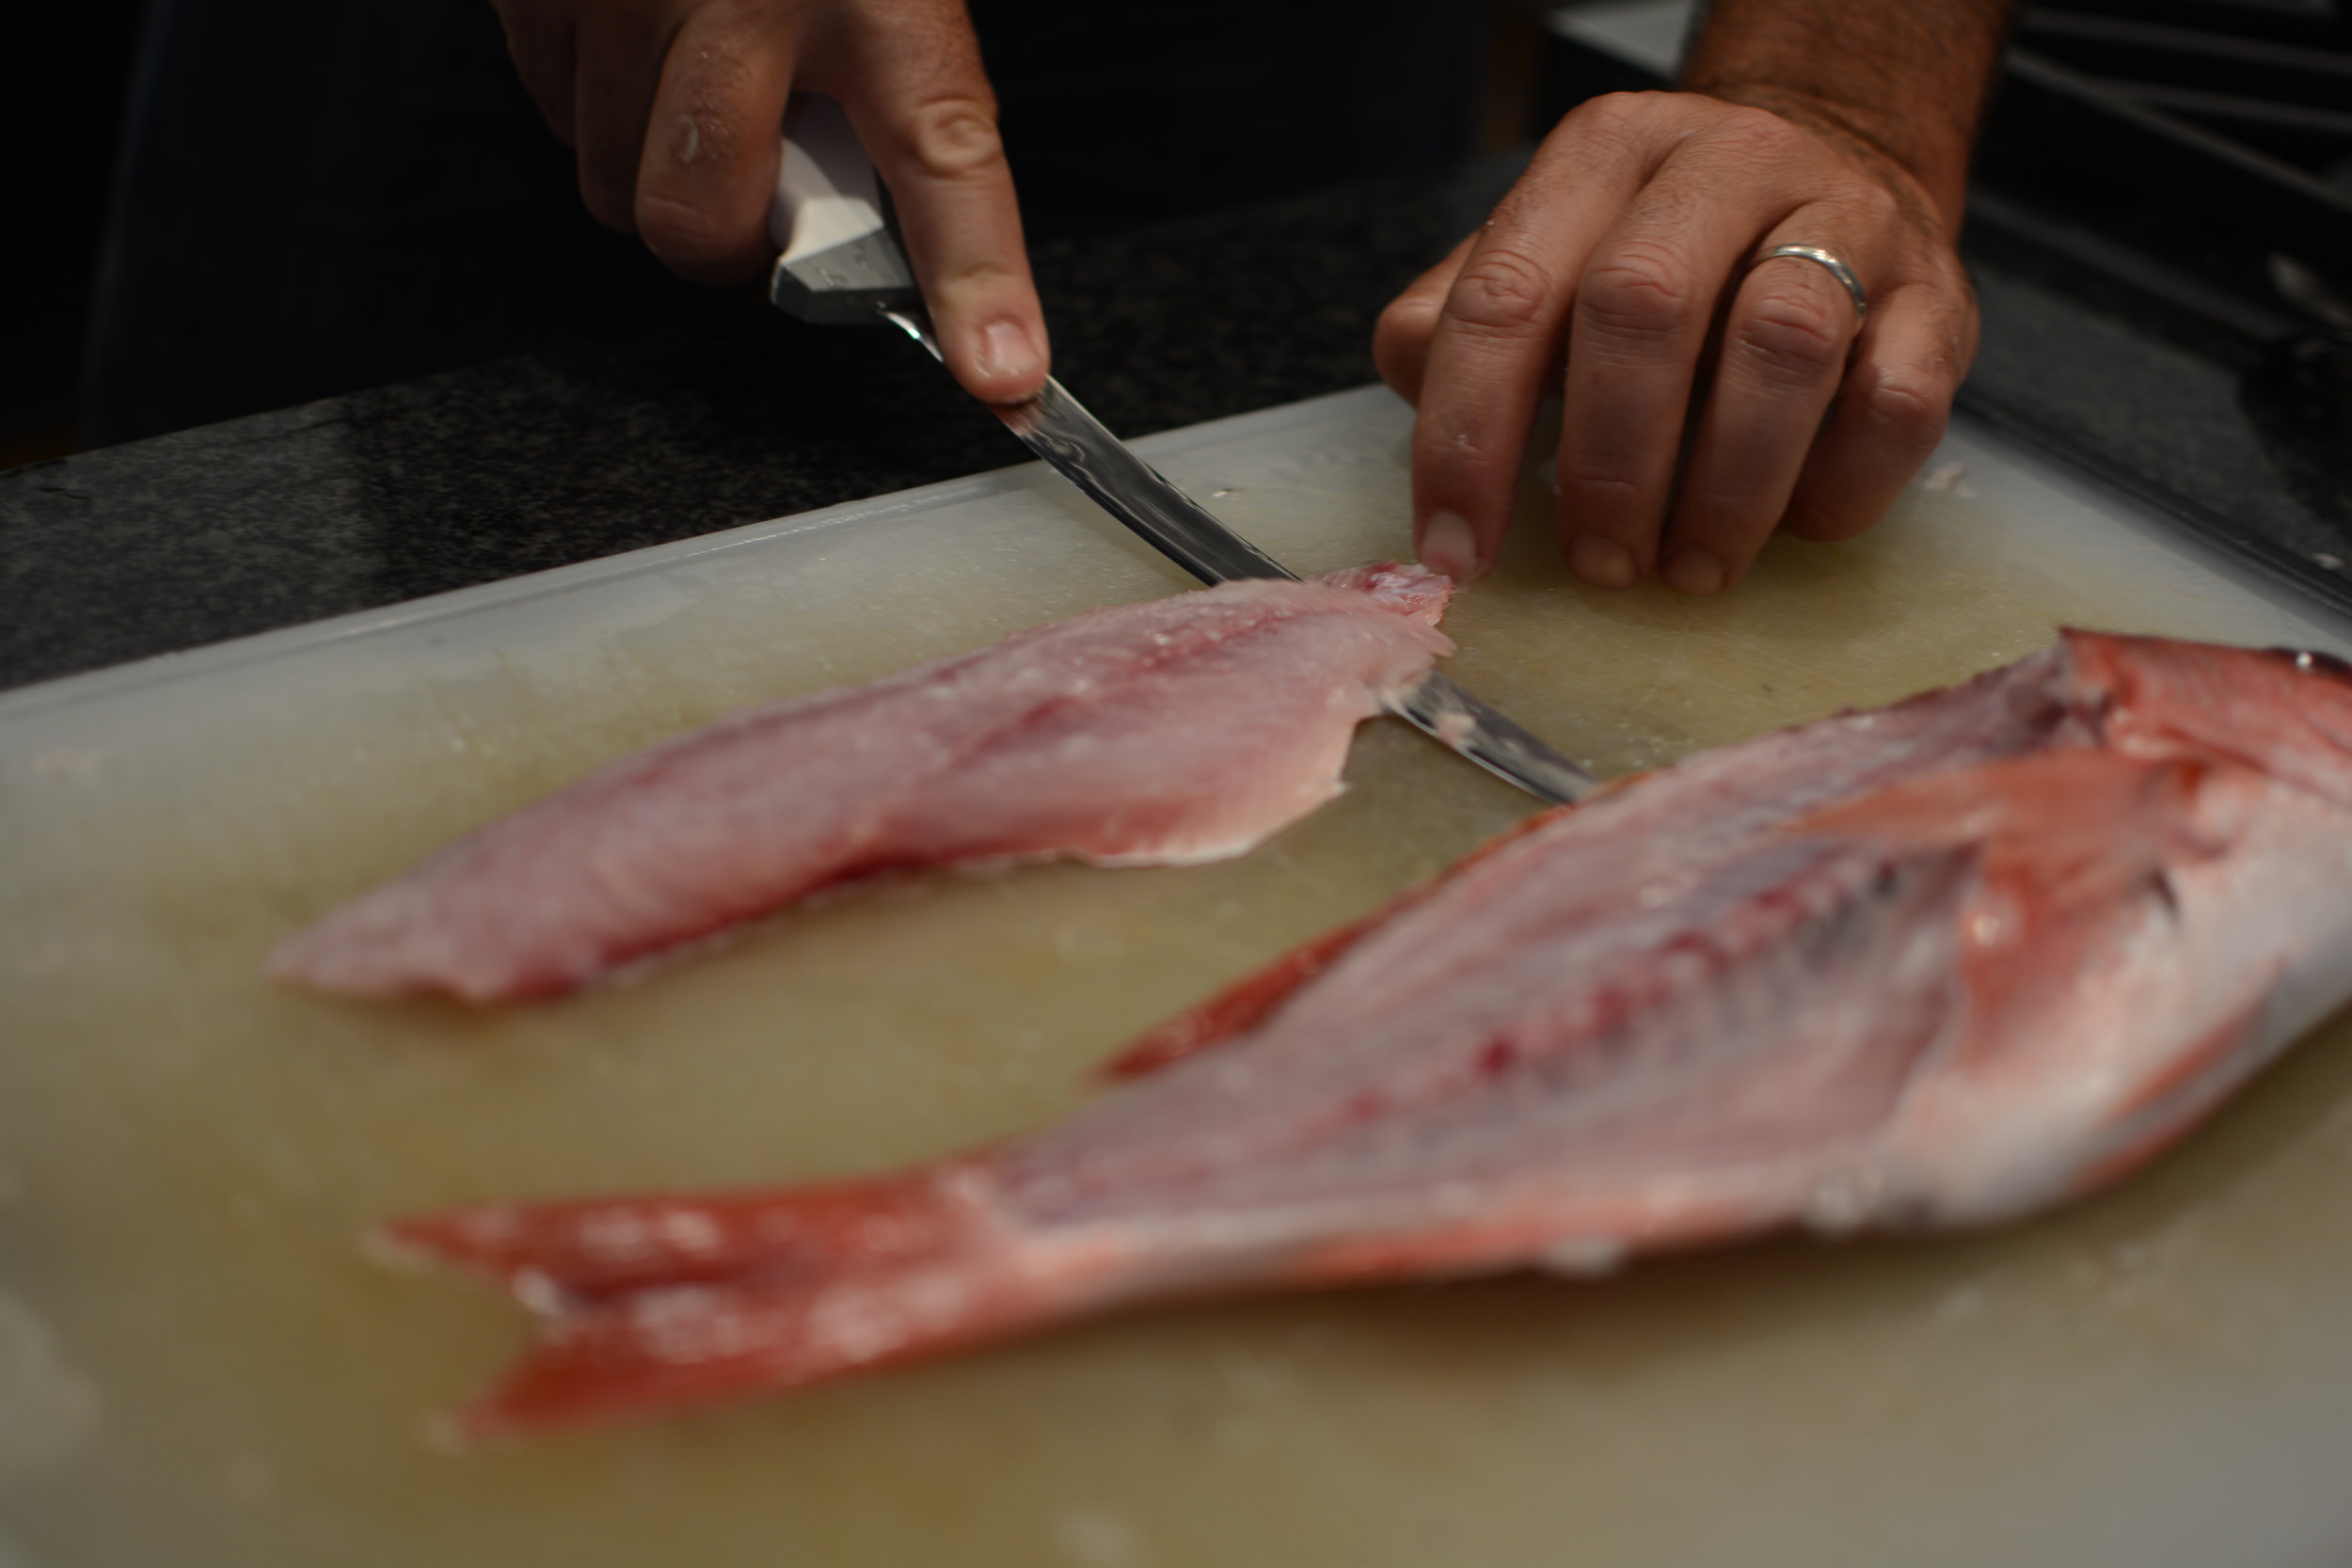
Cut the rest of the way to the tail and cut through the skin to detach the fillet. Lift the tail section and cut back toward the front to clean up any areas that you haven’t cut all the way through.
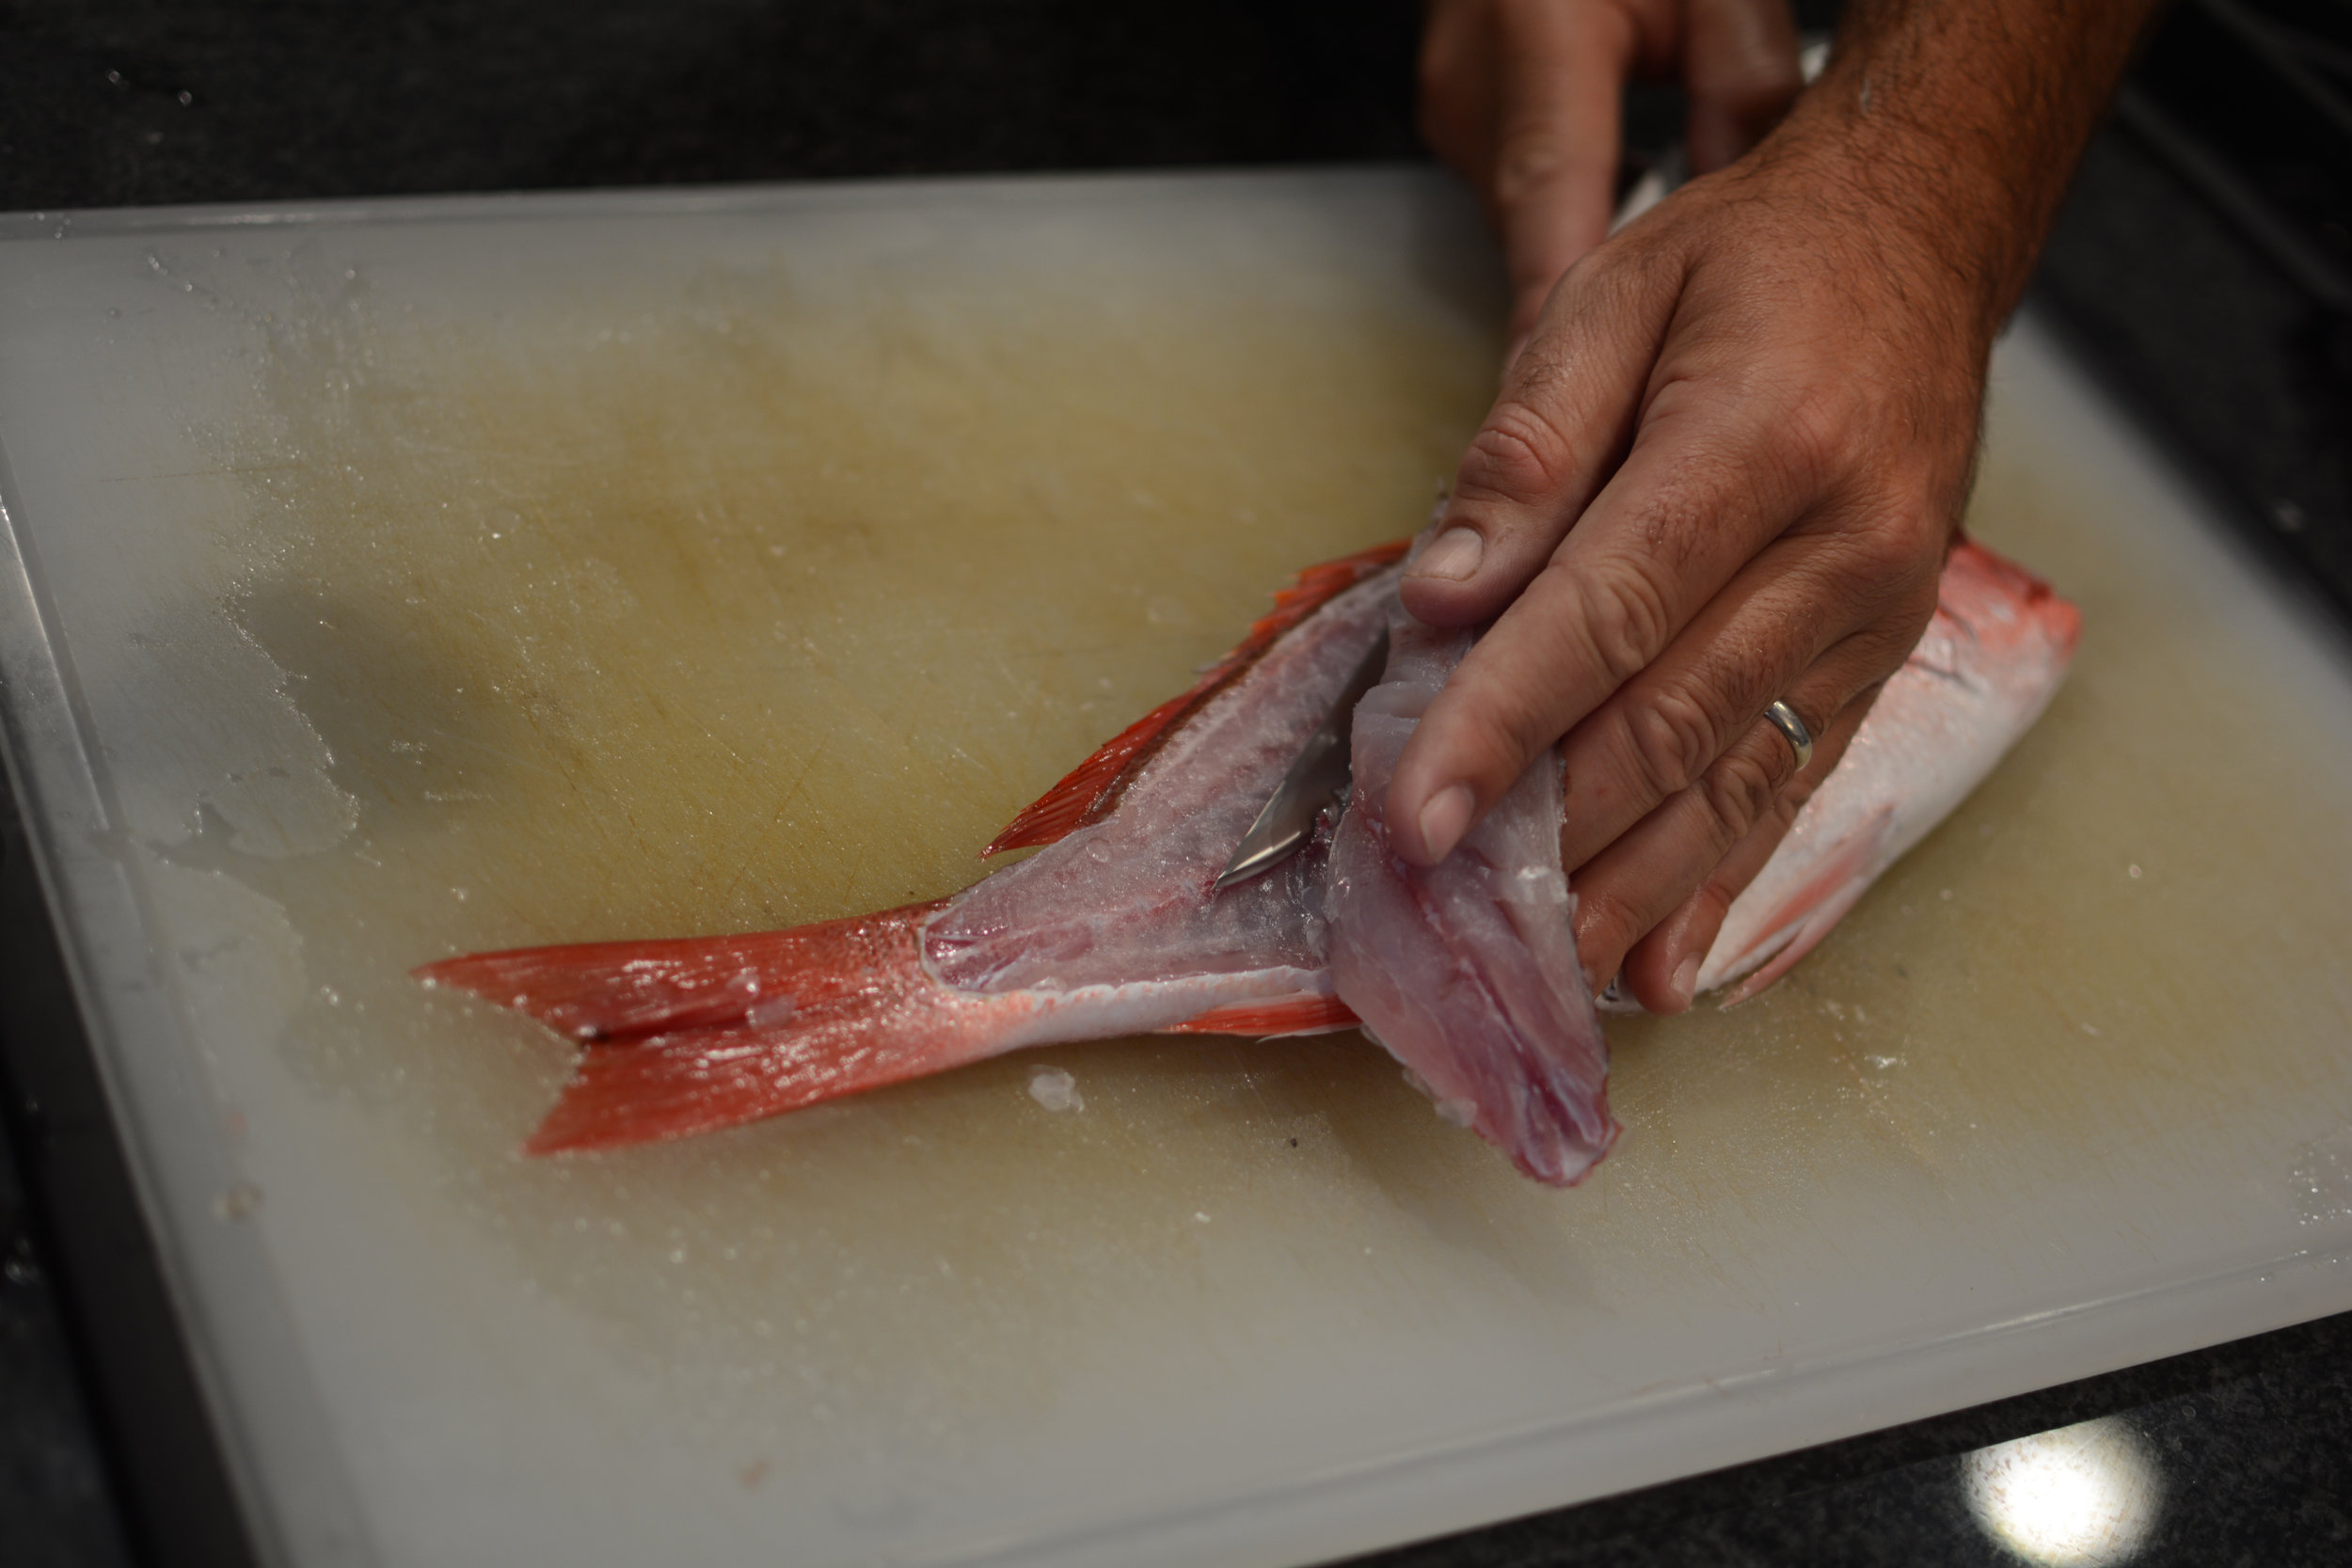
When you get to the rib cage, you’ll need to follow the contours a bit. There is some meat on there but not a lot and eventually you’ll hit the skin. At that point, cut through the skin along the edge of the meat to detach the whole piece.
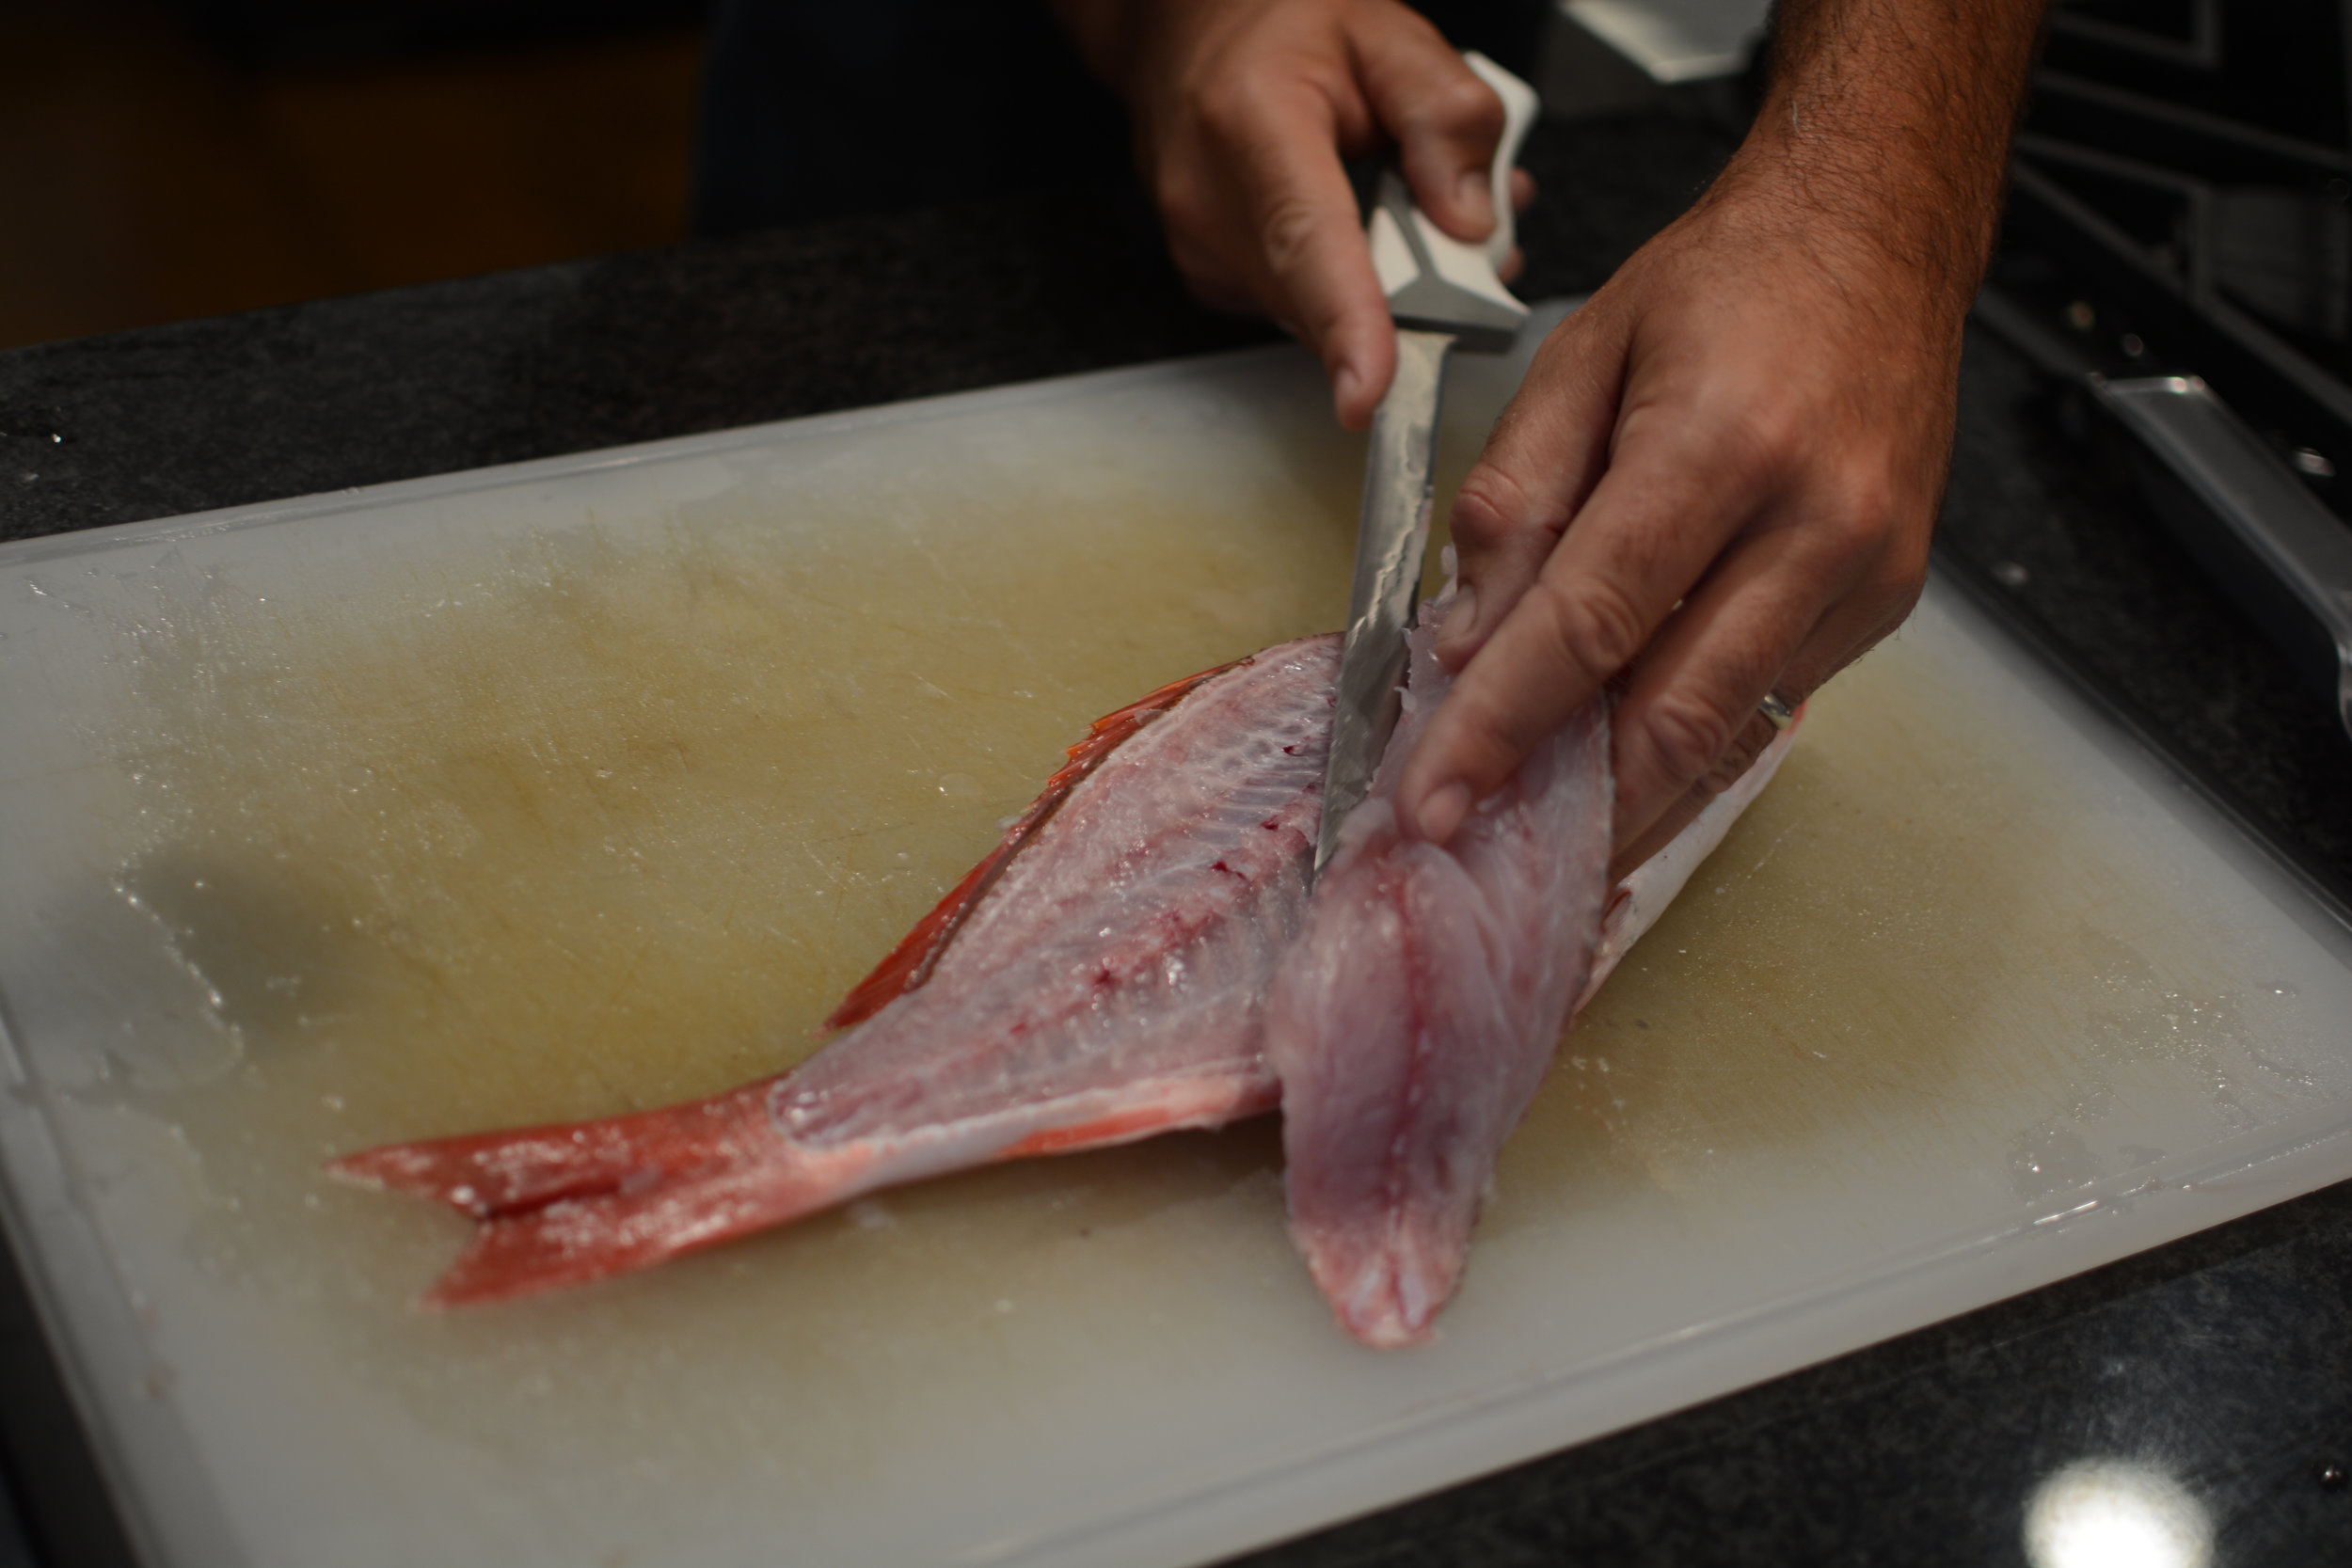
For some fish, it is easier to cut through all the ribs and then come back and cut the ribs off after. Branzino is a perfect example of this.
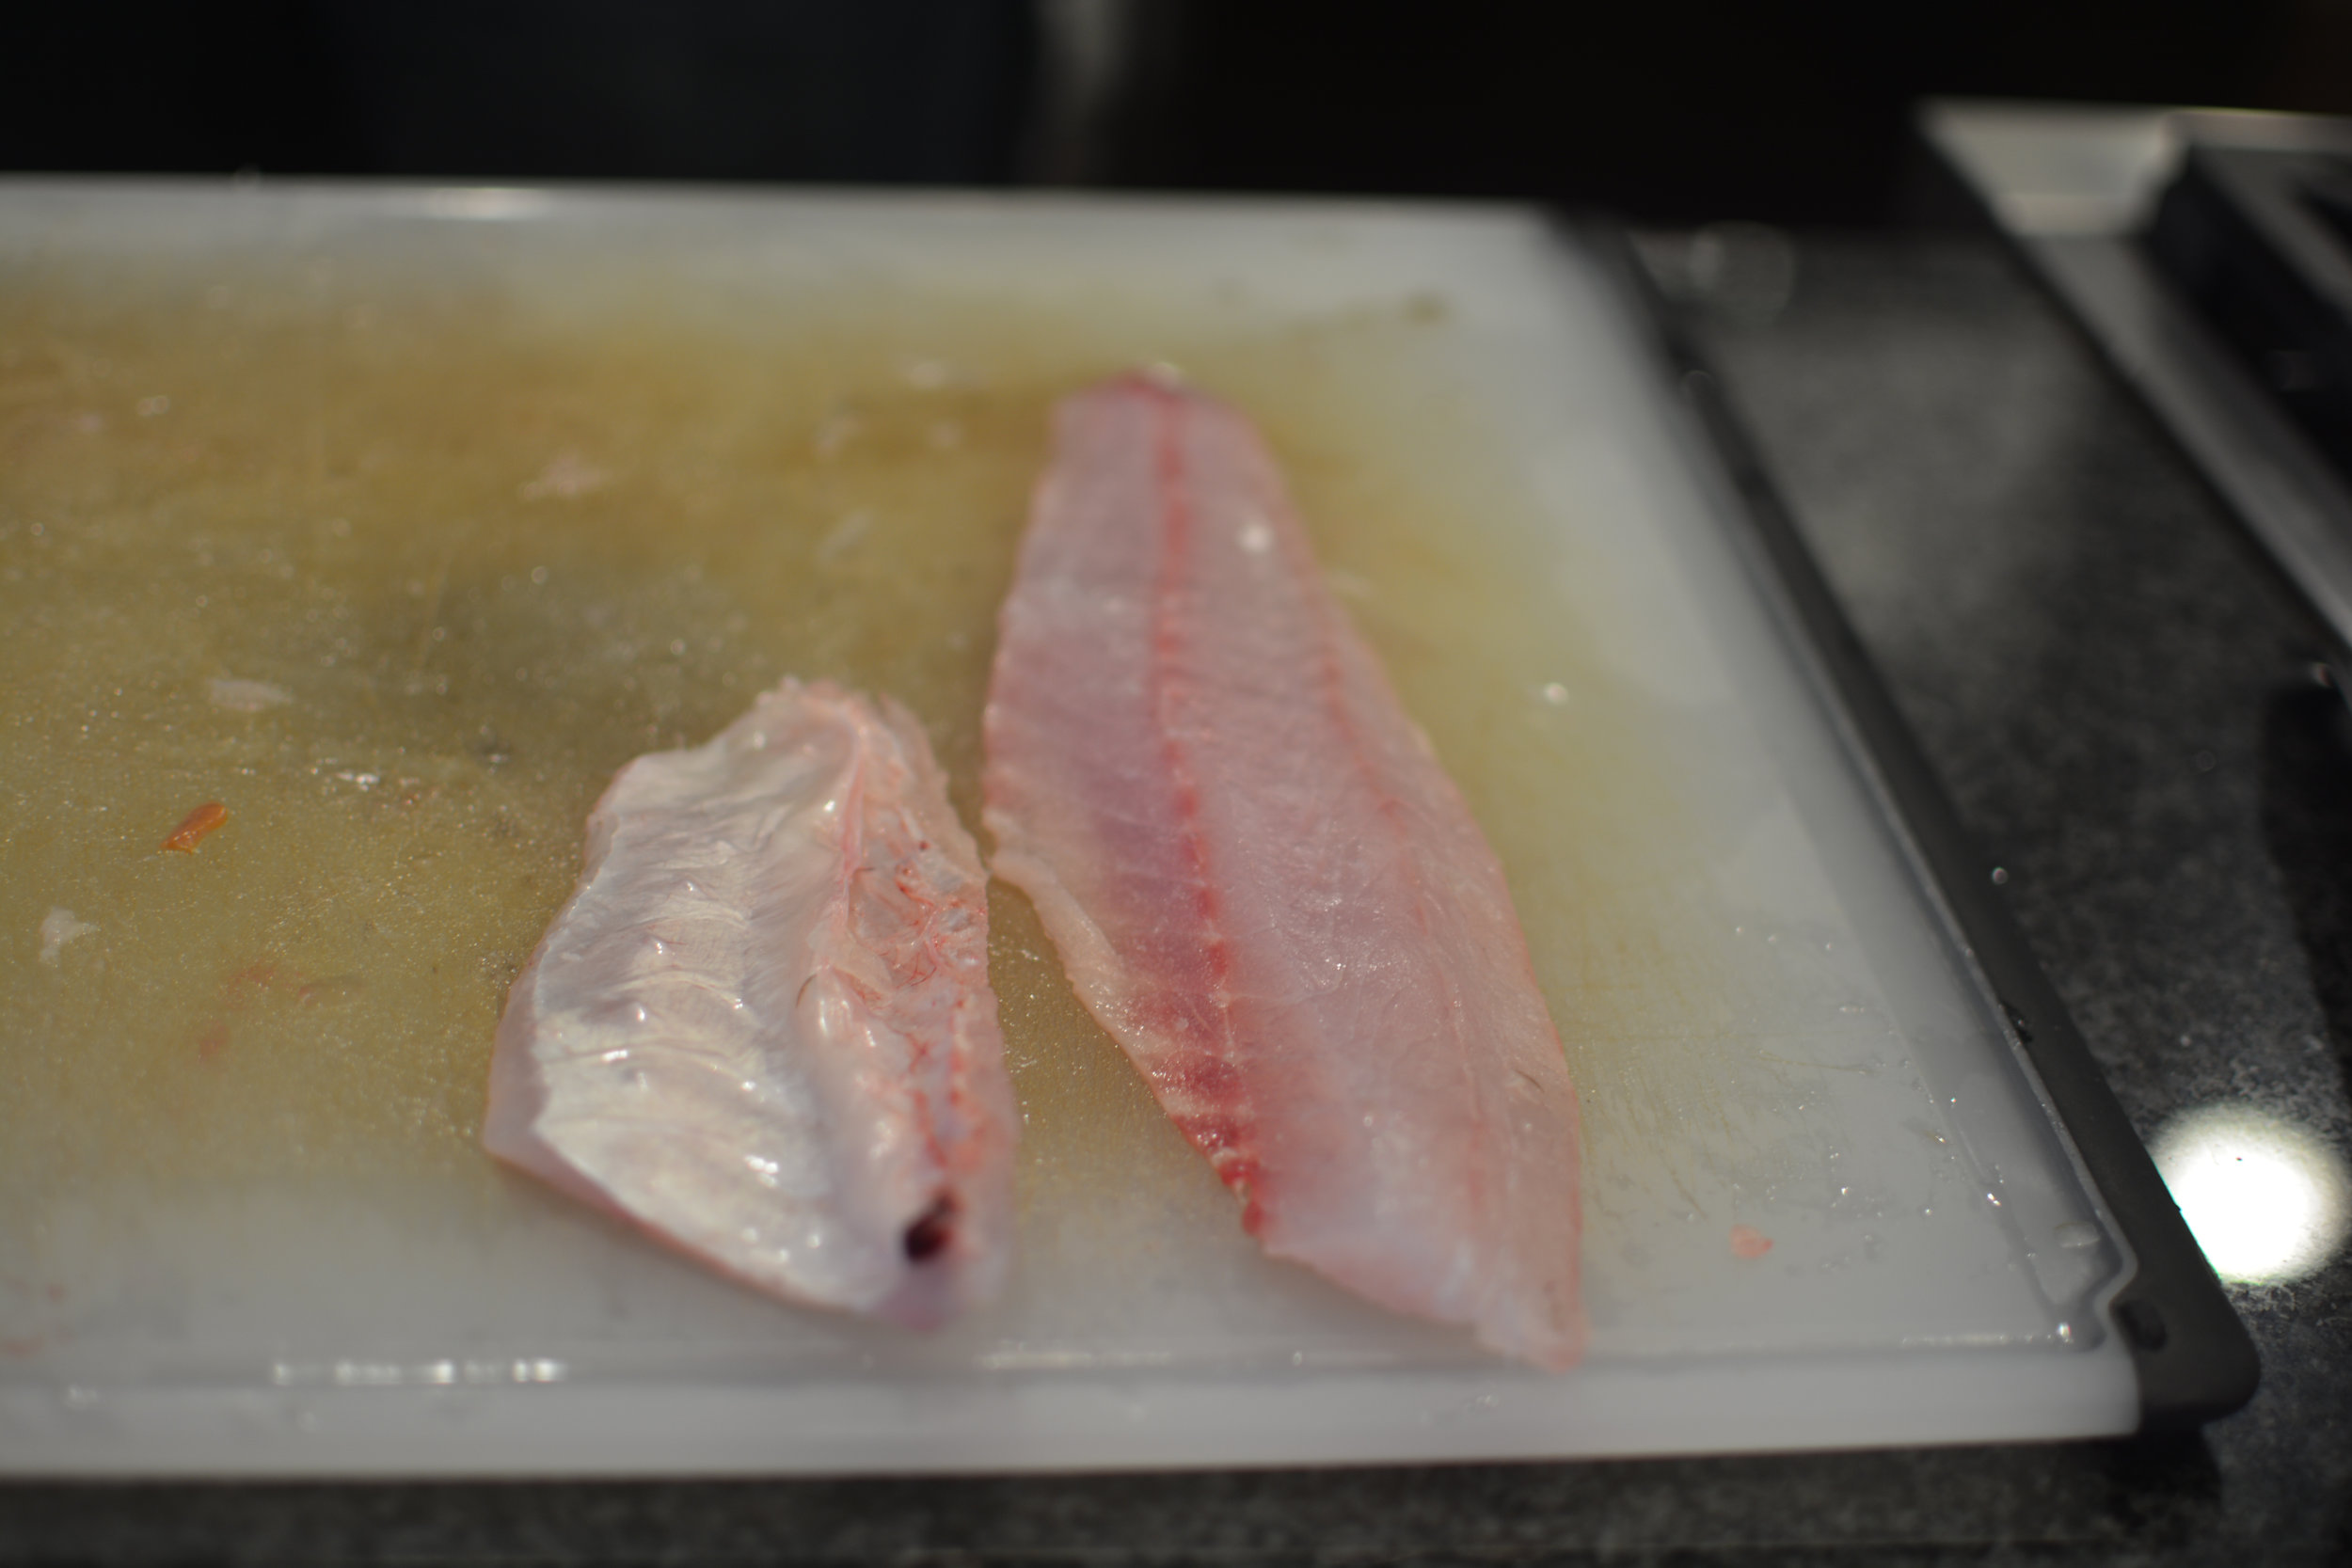
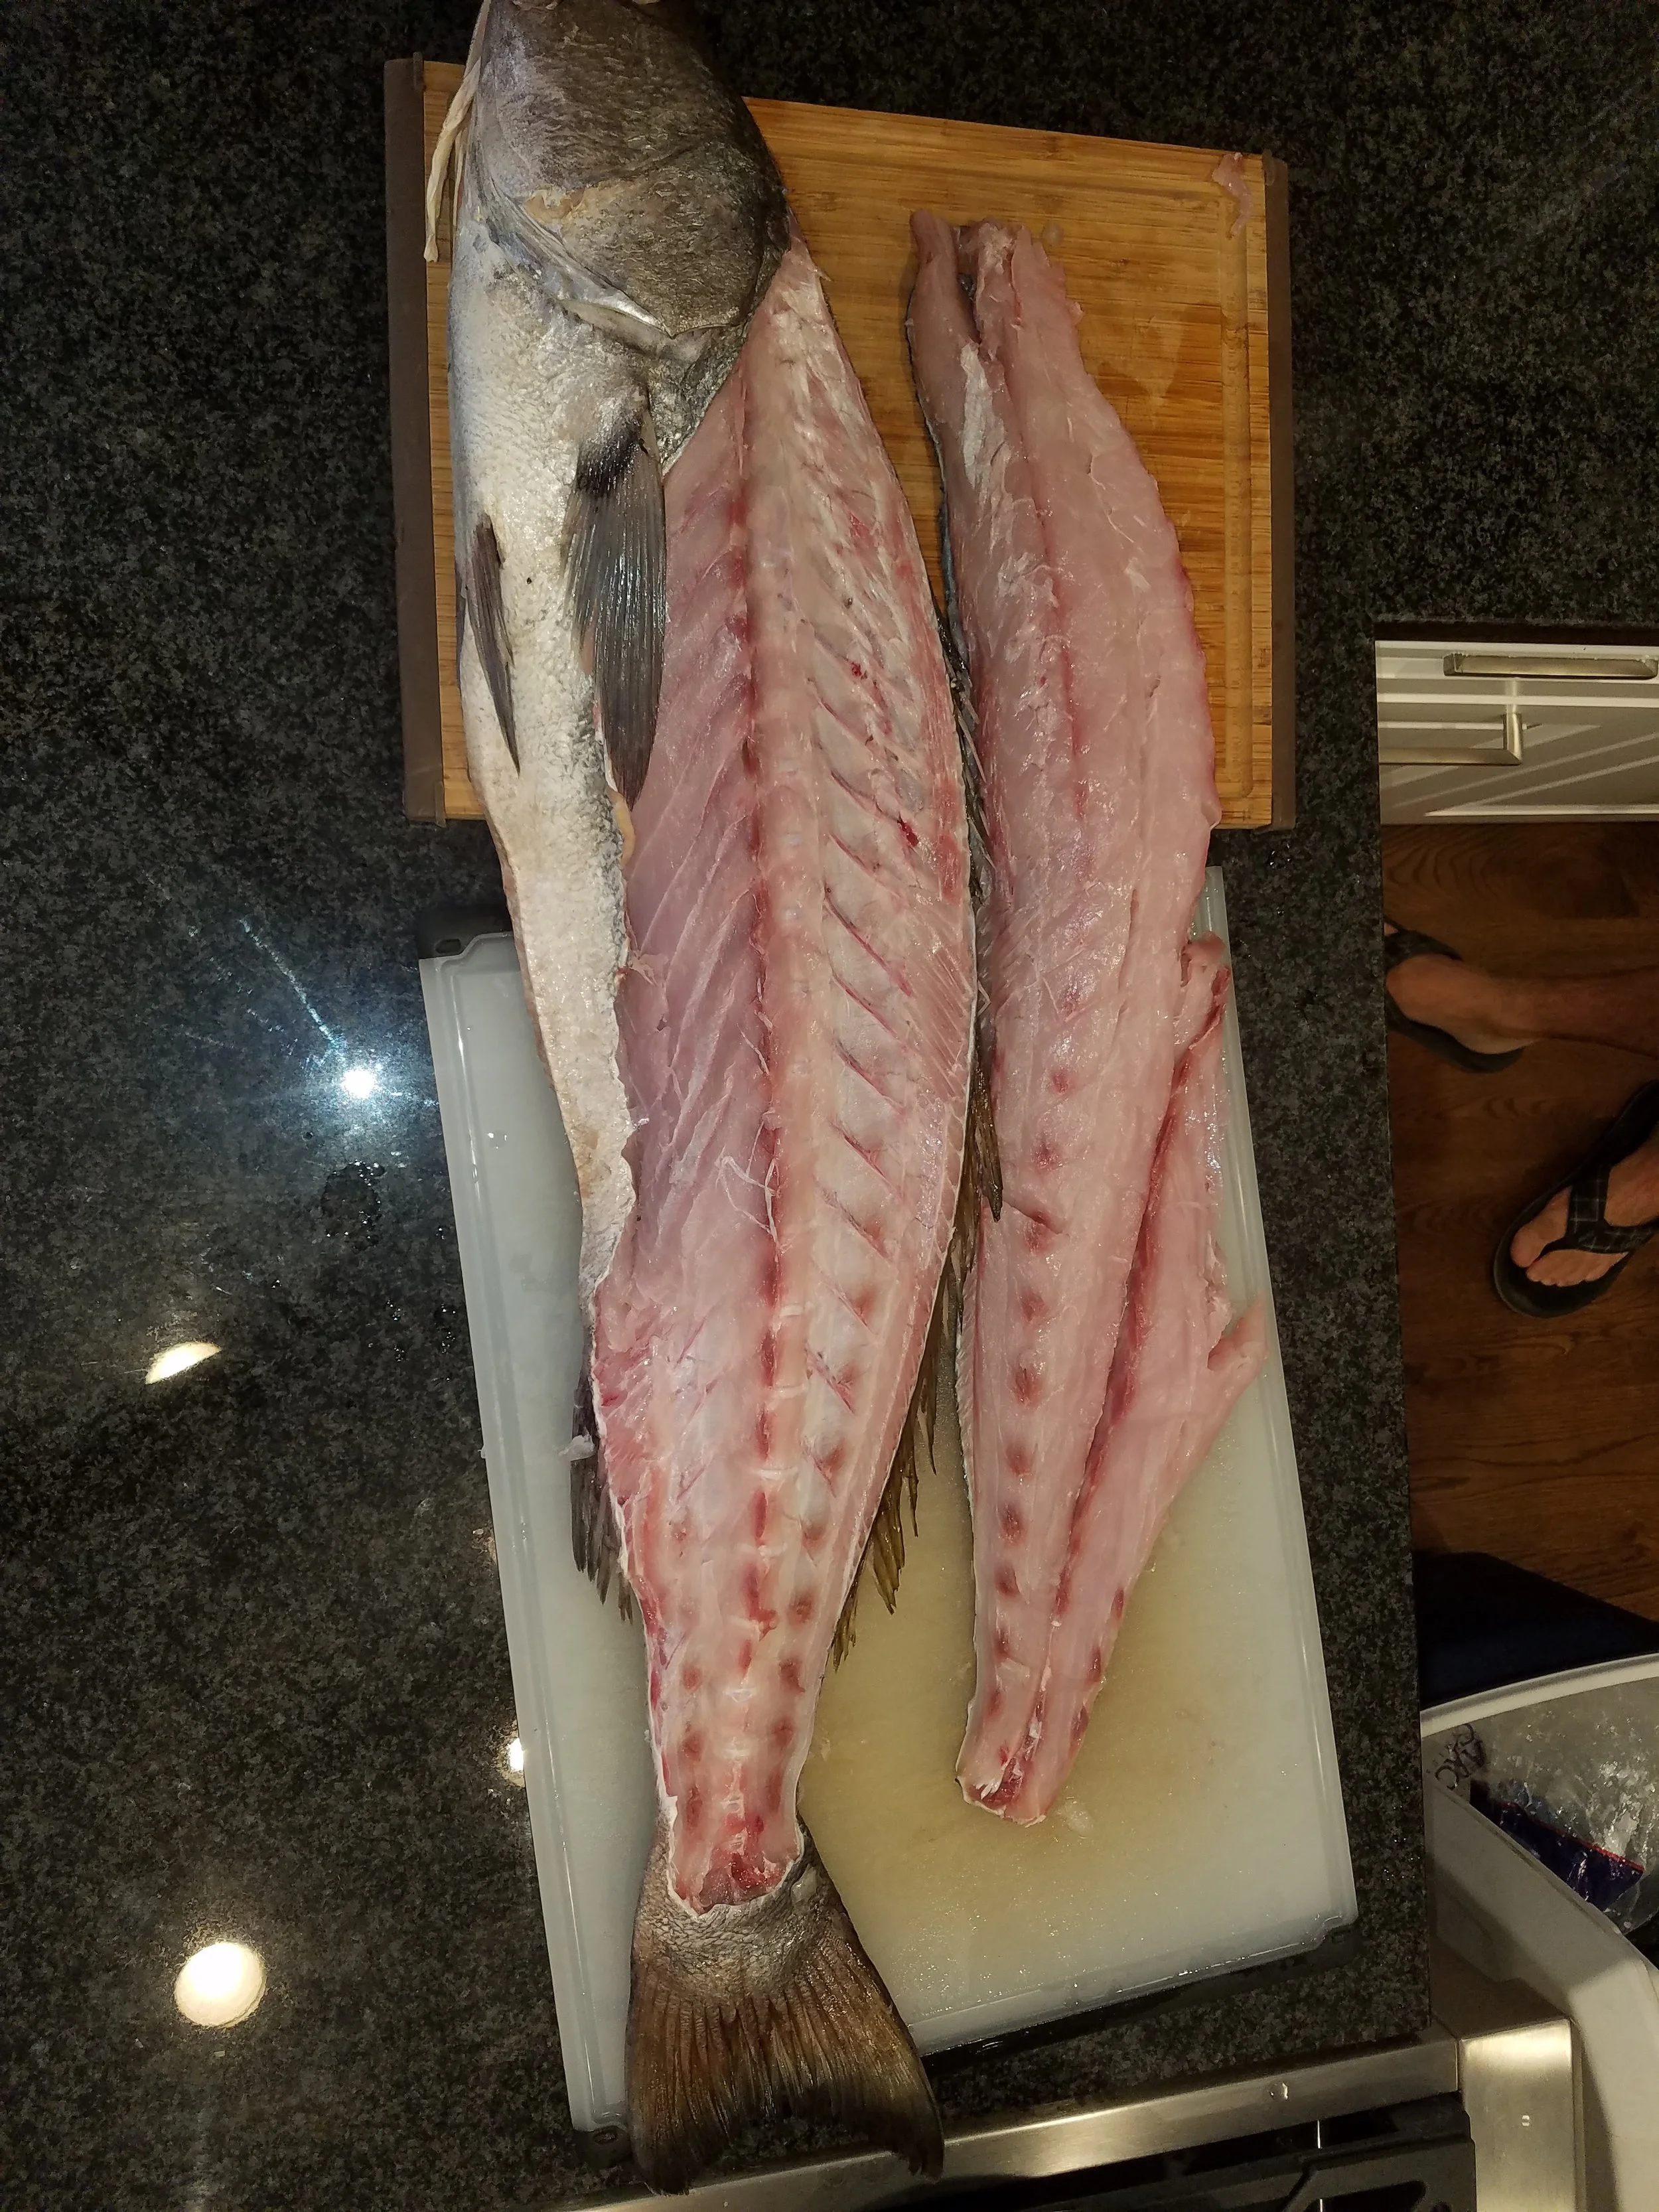
Once you have the detached fillet, skin it by holding a small portion on the tail end and then press the knife down to the cutting board while cutting along the length of the fillet. This is where you need to really take your time. If you mess this part up, it is really hard to recover. Be careful not to cut through the skin and try to get as much meat as you can. Some fish have a layer of dark meat under the skin. In that case, you can leave a little more behind if you don’t want to eat that. Usually, this darker meat is fine to eat, but some fish have a thick bloodline that you will want to remove.
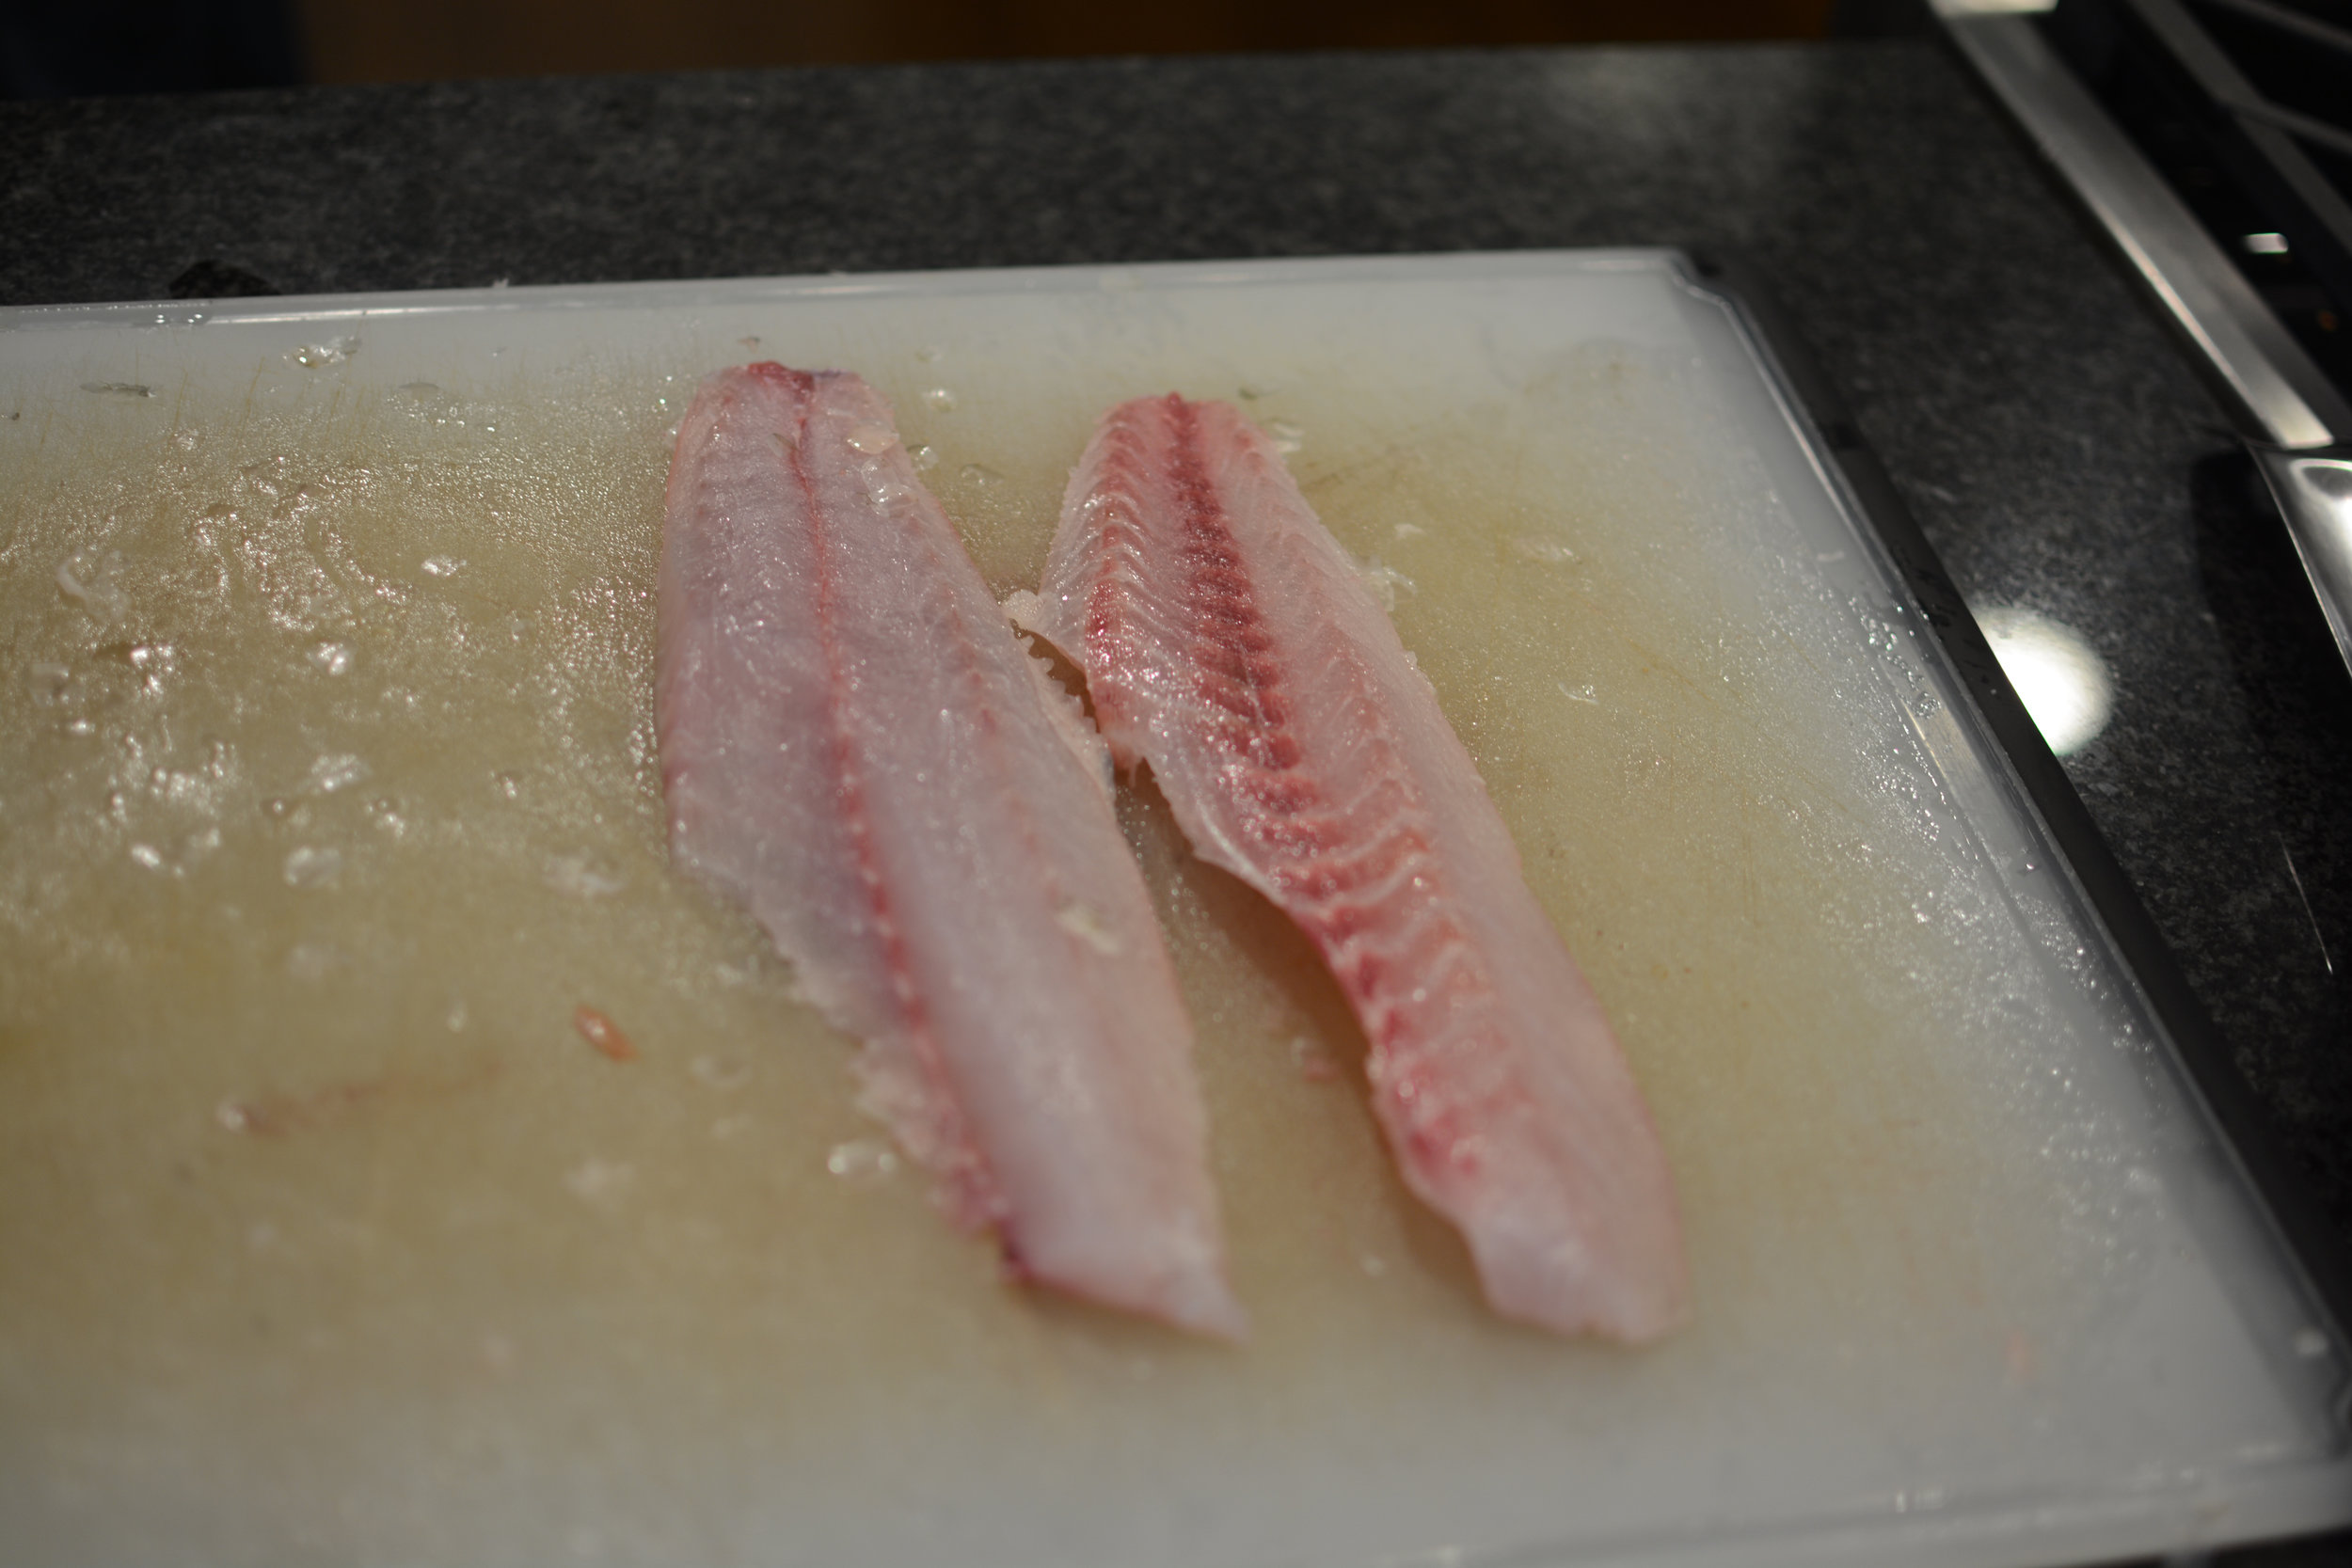
Clean up anything that looks unappetizing. Rinse the fillets. Feel them for any bones that might be left behind. Remove any bones with pliers and rinse again as needed. Pat dry and you are ready to cook.